

Key takeaways
- Light beats gear. A phone, a window, a plain sheet and a tripod get you most of the way.
- Shoot a simple plan: a clean white shot, a few angles, a detail close-up, a scale shot and a lifestyle shot.
- Keep the setup identical across every product so the store looks like one brand.
- Make images fast. Compress the file and use WebP, which is usually 25 to 35 percent smaller than JPEG or PNG (web.dev).
- Label every image with a plain descriptive filename and alt text so Google and screen readers can read it.
1. Product photography: the short answer
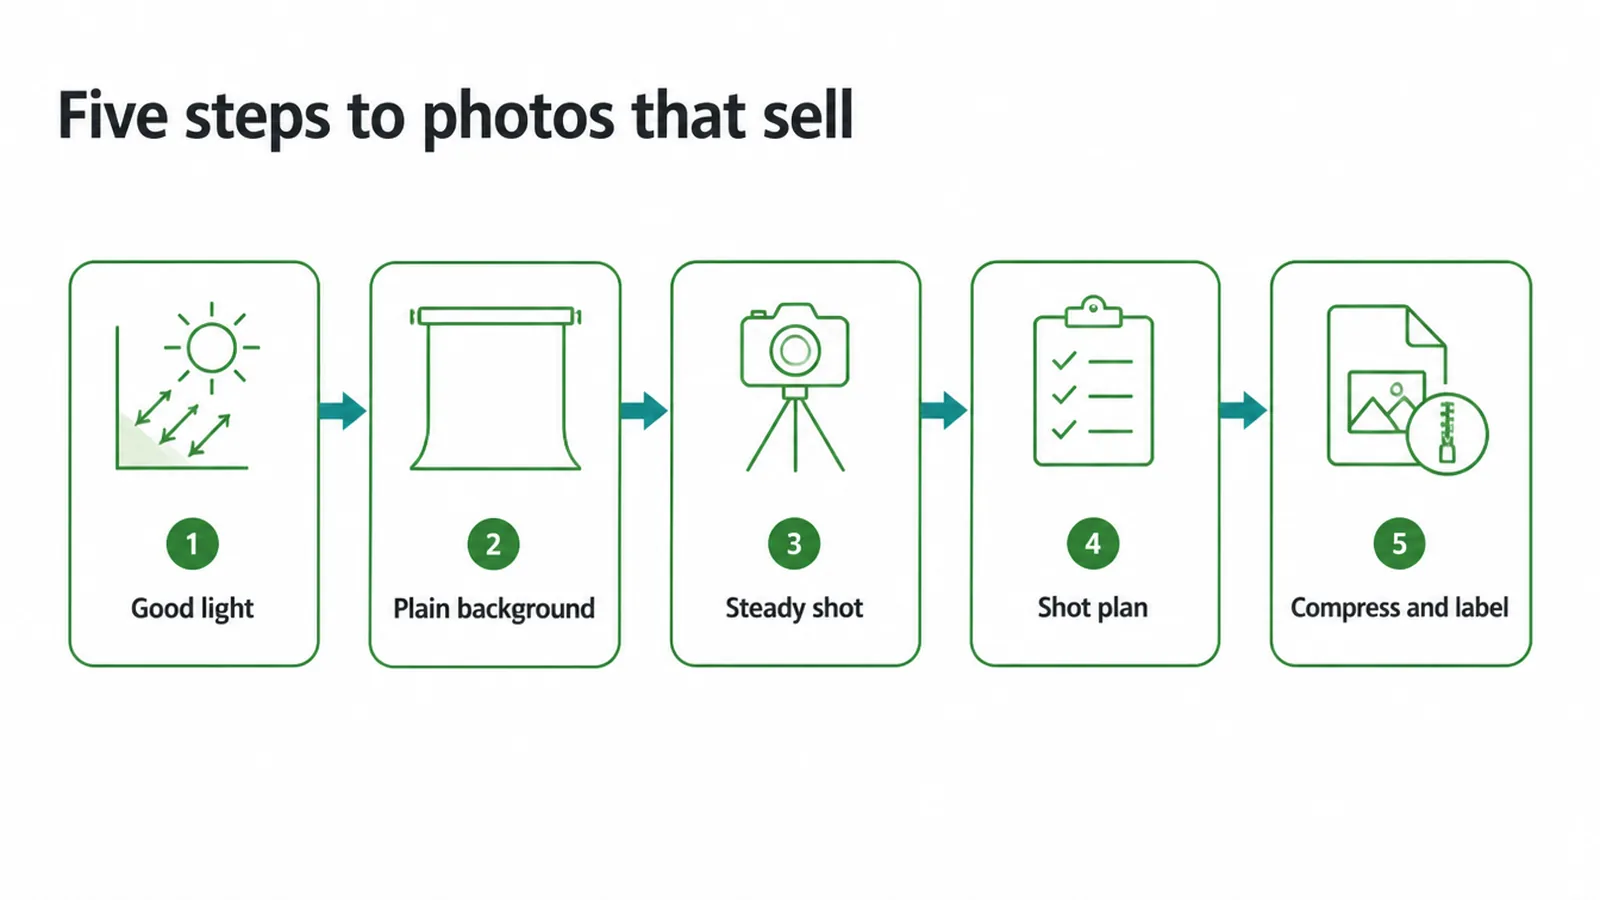
Great product photos come from good light, a plain background, a steady shot and a simple plan of angles. Then you shrink the file and label it so the page loads fast and Google can read it. You do not need a studio or a pricey camera.
If you are not a photography expert and own no lights, the fix is to shoot next to a room with a window (Shopify Help). The rest of this post walks through the plan, step by step.
2. Why product photos make or break a sale
A shopper online cannot pick your product up, feel the weight, or check the stitching. The photo has to do all of that for them.
Your job is to make the picture create a vivid mental image, as though they are seeing it in-store (Shopify). Get that right and the item almost sells itself. Get it wrong and even a good product looks cheap.
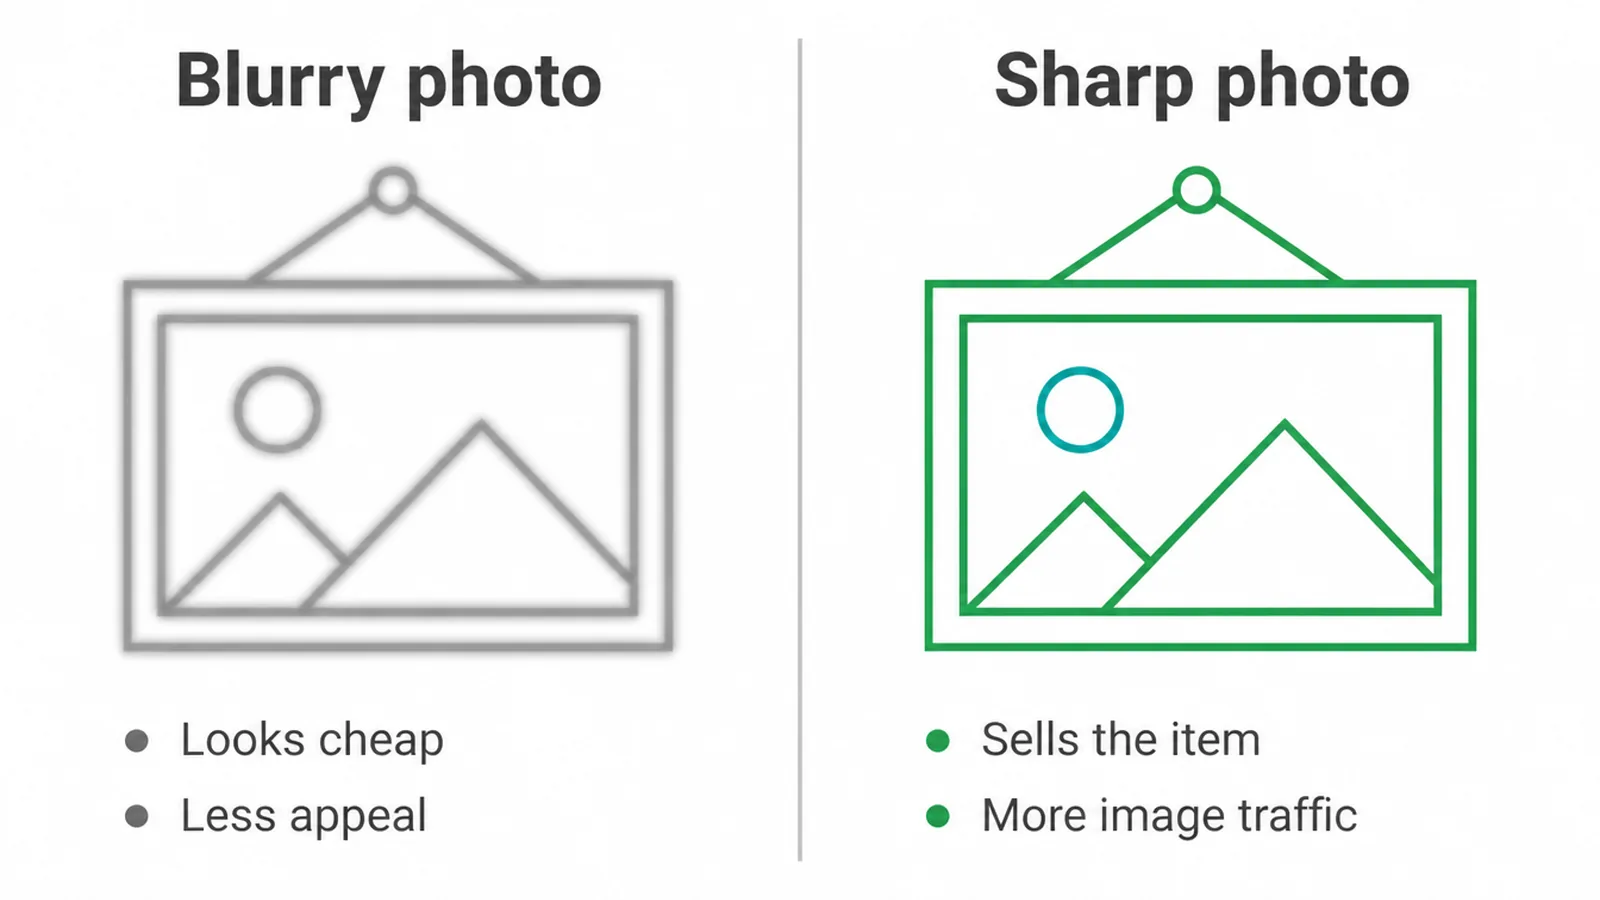
Sharpness matters too. High-quality sharp photos appeal to users more than blurry ones and can increase traffic from image results (Google Search Central). So a clear photo is both a selling tool and a traffic tool.
Because photos carry so much weight, they are one of the biggest levers you have, which is why they sit right alongside our advice on how to increase your website conversion rate.
3. Gear you actually need (hint: not much)
Here is the honest list. A phone or an entry-level camera. A window. A plain white sheet or board for the background. A tripod. A white board to bounce light. That is it. You do not need a studio or a lighting kit to start.
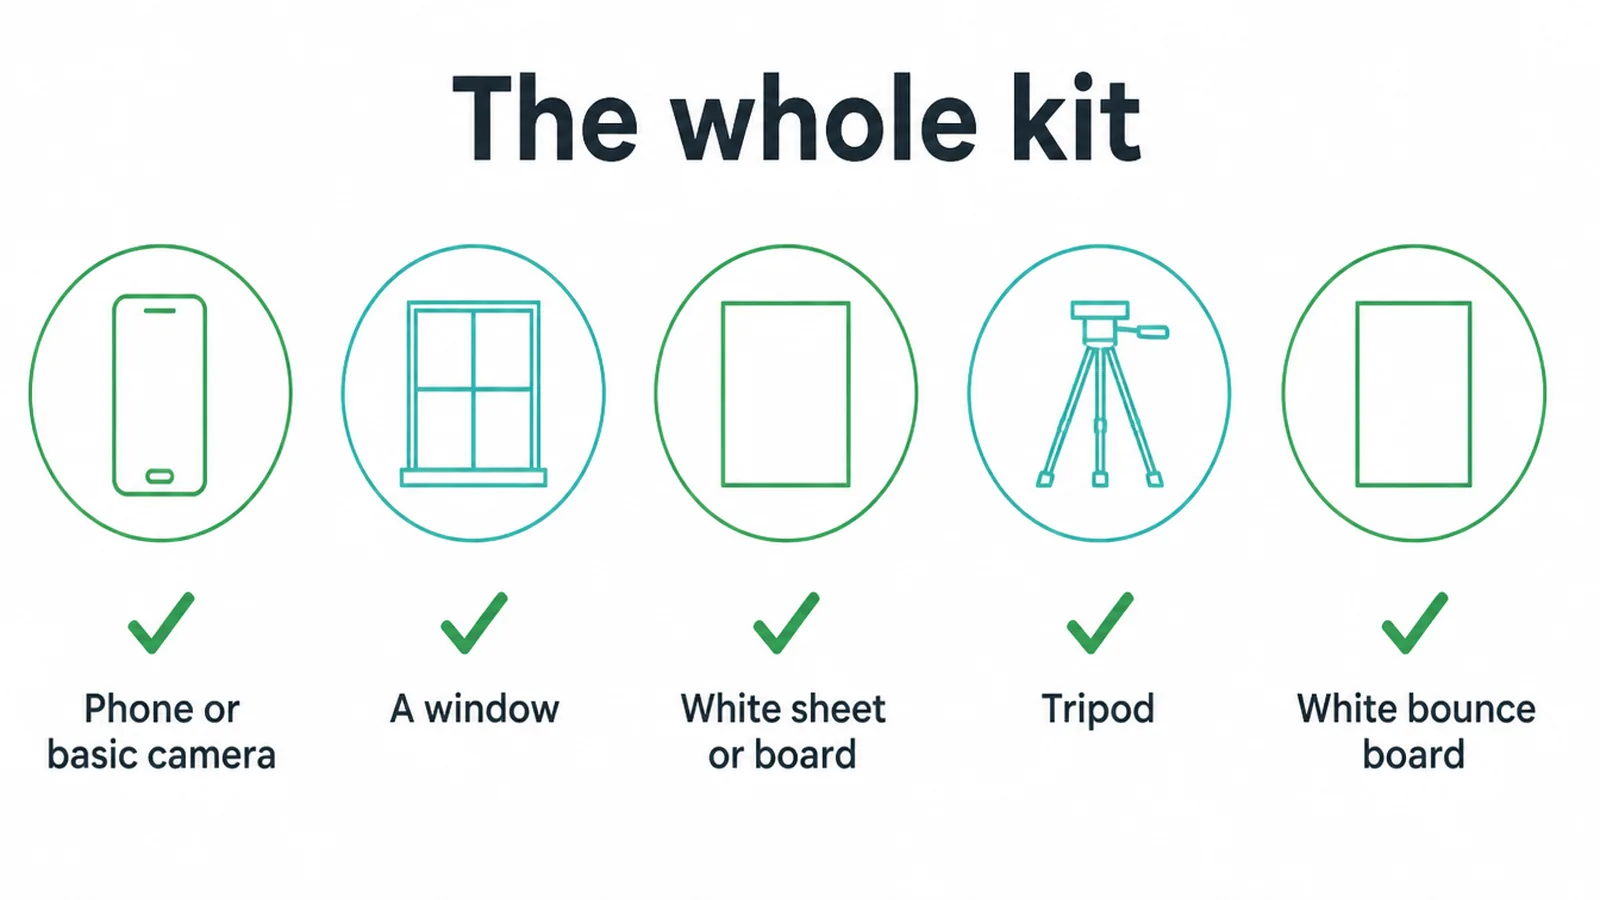
The one item people skip is the tripod, and it earns its place. Keeping the camera and tripod in the same position during the shoot keeps everything consistent (Shopify Help).
Tripods matter more with manual settings, especially in low light (Shopify Help). Lock it in place and every photo lines up the same way.
4. Lighting: use the window
Skip the lights and use the window. Position the setup closer to the window for softer light with darker soft shadows, or further away for more even, sharper light (Shopify Help). Move the product back and forth until the shadow looks right, then leave it.
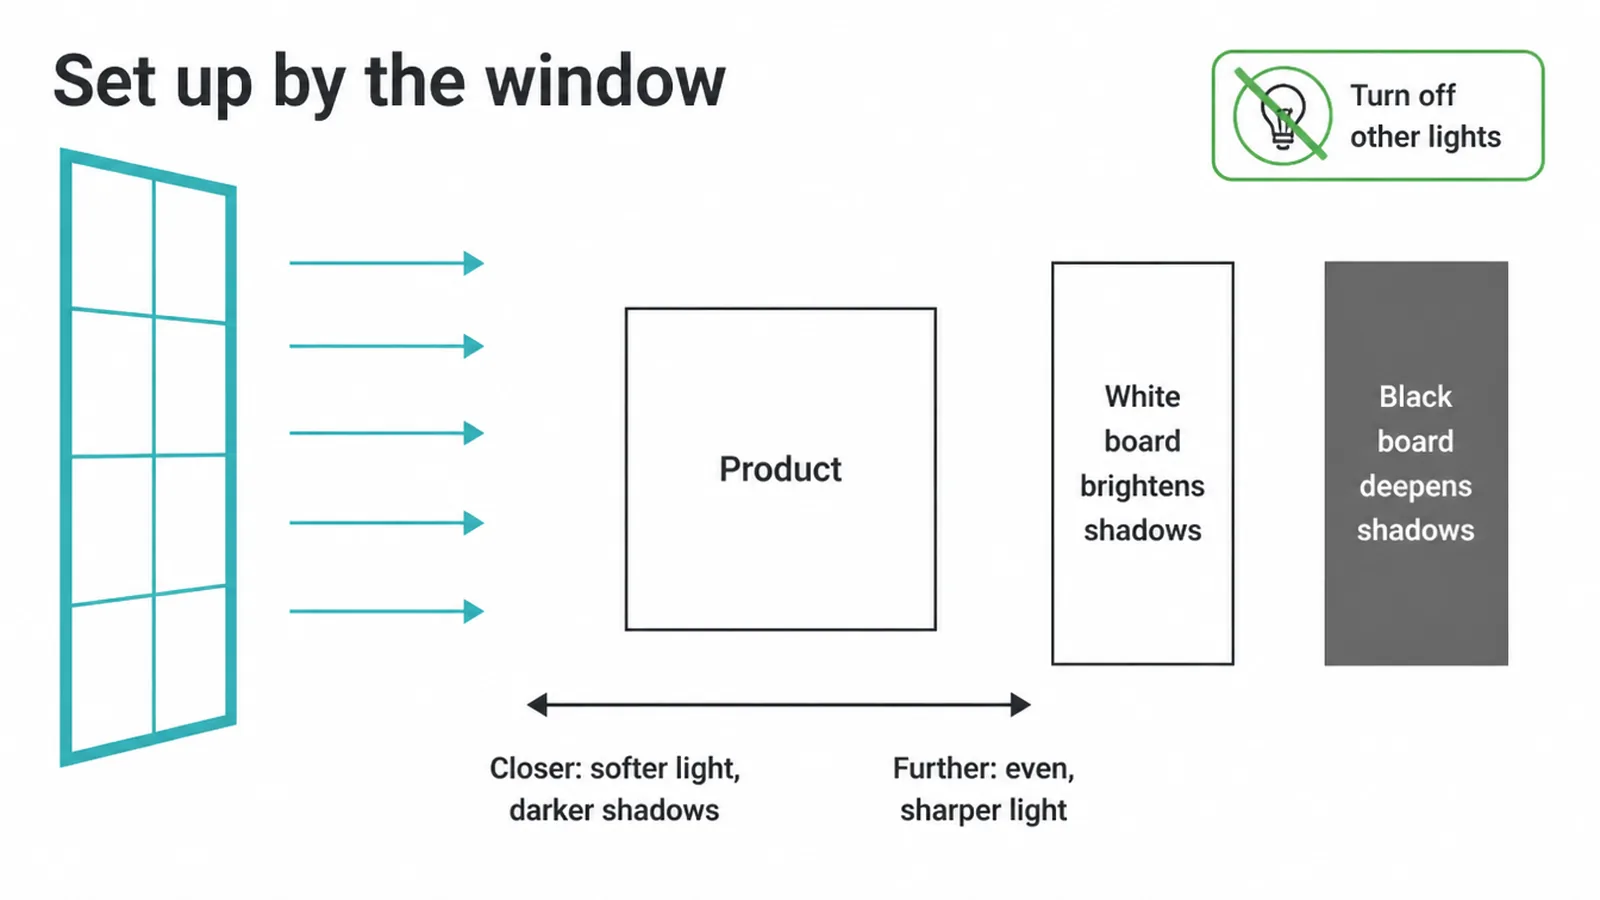
One rule catches most people out. Turn off all other lights in the room, because other light will contaminate the set (Shopify Help). A warm bulb and cool daylight fighting each other make the colour go muddy.
When the shadow looks too harsh, a white foam board reflector brightens shadows, while a black board deepens them, which is handy for white products on a white background (Shopify Help).
5. White background vs lifestyle shots
You want both, and they do different jobs. A pure white background keeps the product as the central focus and gives you a clean, consistent look (Shopify Help). This is your main listing shot, the one shoppers see first in search and in the store grid.
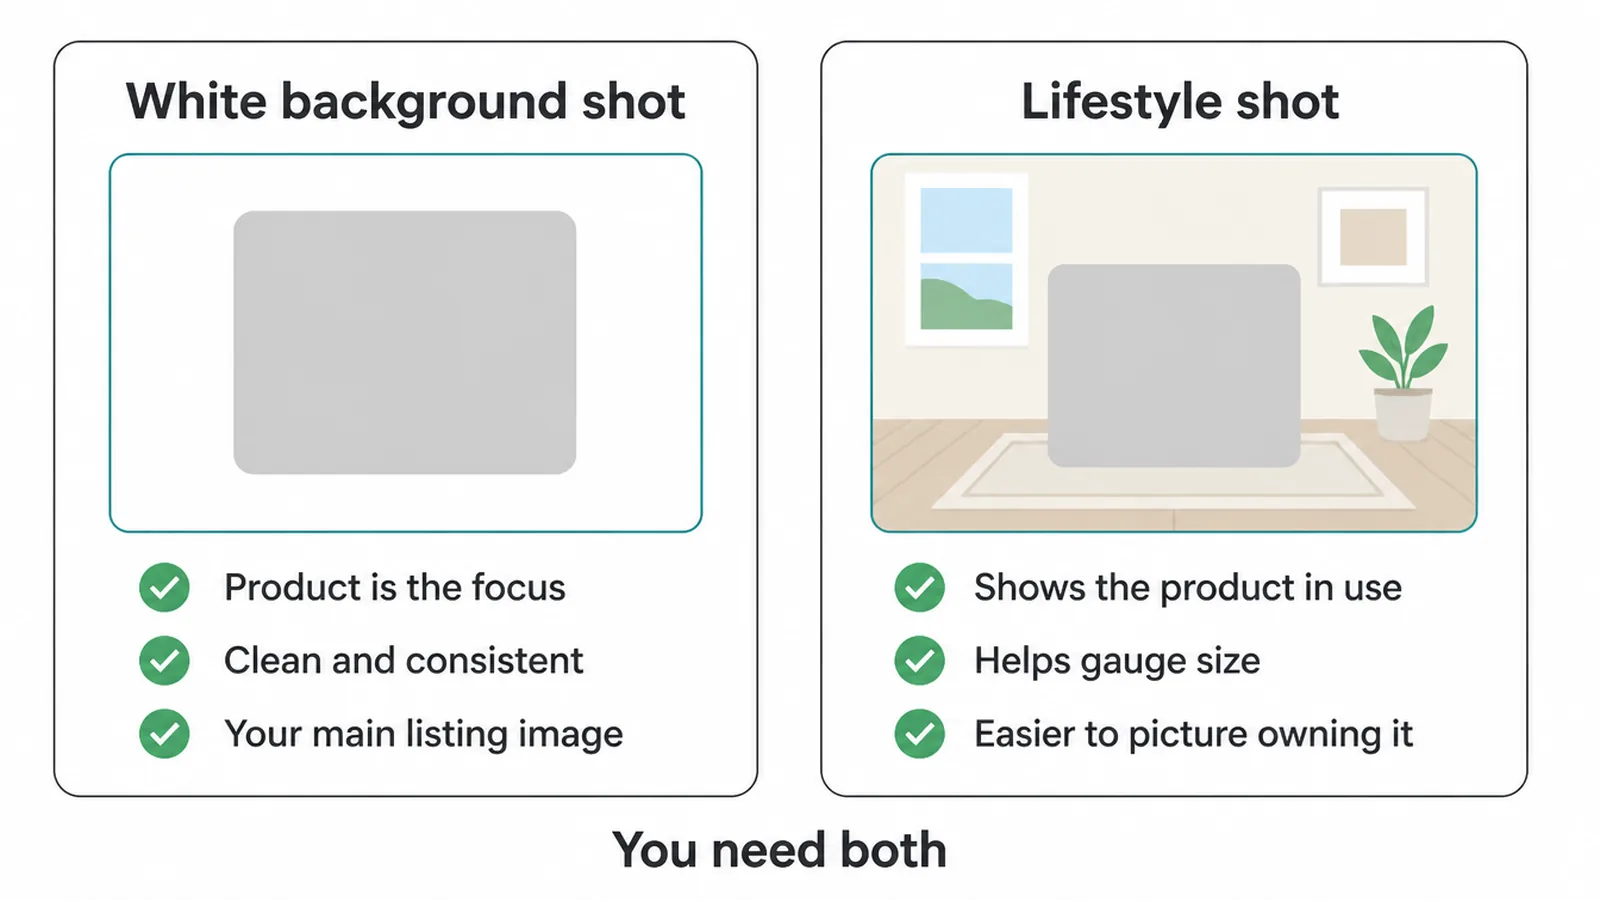
Lifestyle shots do the other half. They show the product in context and help shoppers gauge size (Shopify). A mug on a real desk, a bag on a real shoulder.
That is what makes someone picture owning it. Lead with the clean white shot, then back it up with a couple of lifestyle frames.
6. The shot list: angles, scale, detail
Do not guess. Work off a plan so every product gets the same set. Rotate the product, not the camera, and take test shots so every important detail is visible (Shopify Help).
Close-up zoomed-in shots highlight specific features and show product quality, while group shots show the item with variants or complementary products (Shopify). Here is the full list.
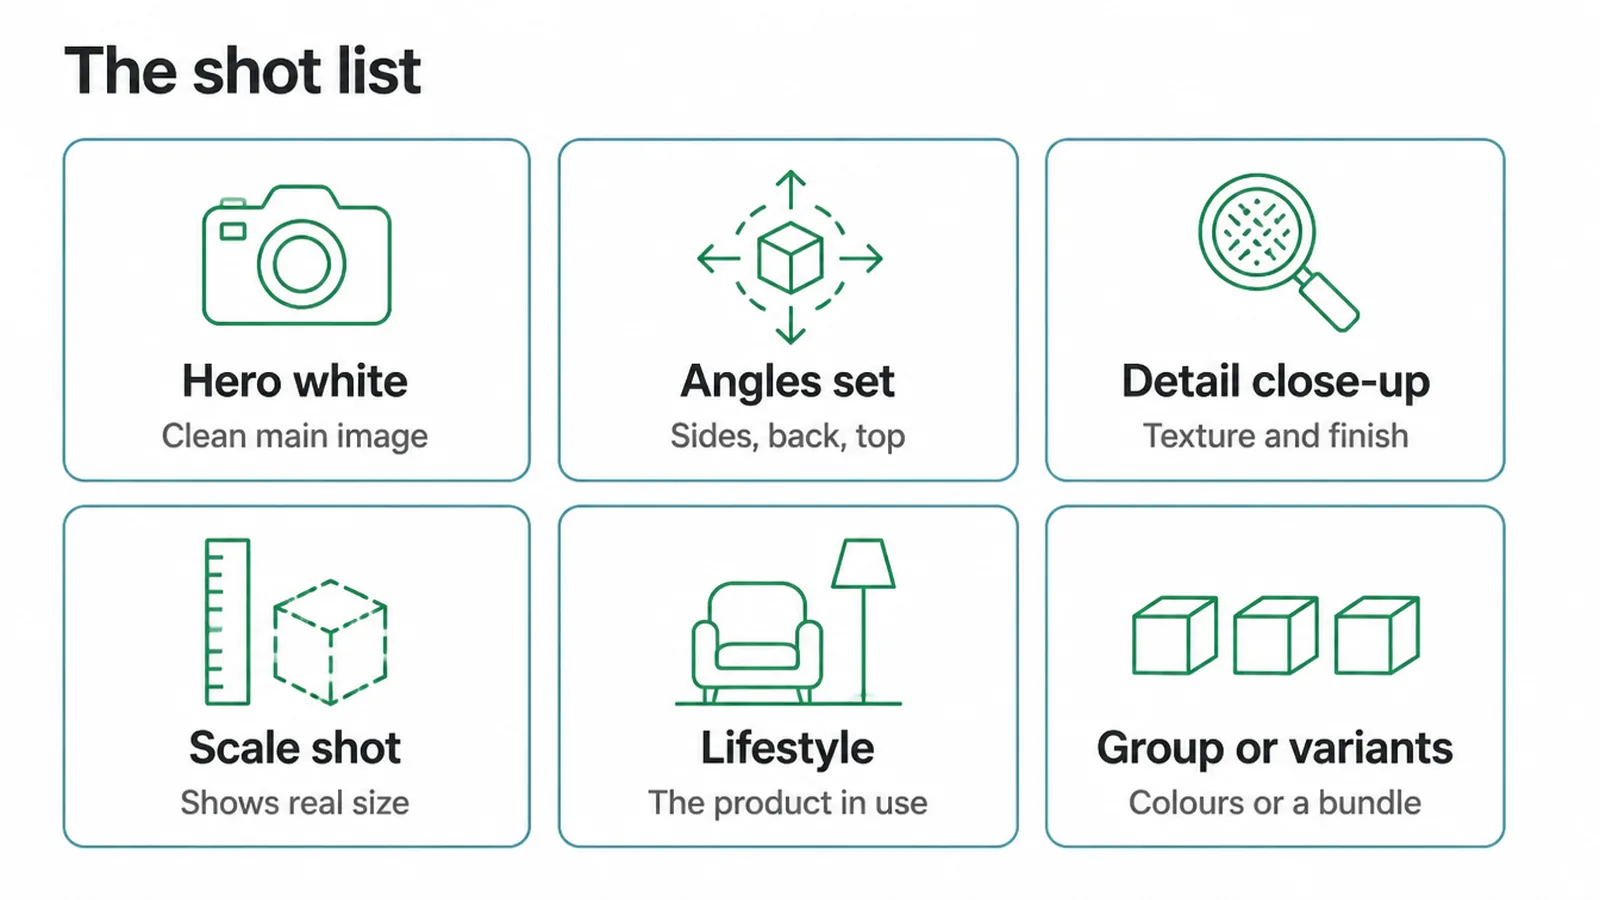
| Shot | What it shows | How to set it up | Why it sells |
|---|---|---|---|
| Hero white | The product, clean | Plain white background, front-on, filled frame | Clear main image for listings and search |
| Angles set | Sides, back, top | Rotate product, keep camera fixed | Shopper sees the whole thing |
| Detail close-up | Texture, stitching, finish | Zoom in on the key feature | Signals quality |
| Scale shot | Real size | In-hand or beside a familiar object | Stops the "it was smaller than I thought" returns |
| Lifestyle | The product in use | Real setting, natural light | Helps gauge size and picture owning it |
| Group / variants | Colours or a bundle | Line up together, same light | Cross-sell and range at a glance |
7. Keep it consistent across your store
One good photo is nice. A whole catalogue that matches is what looks like a real brand.
The way to get there is boring on purpose: keep the camera and tripod in the same position, the same window light, and the same background for every product (Shopify Help). Shoot in batches so nothing drifts between products.
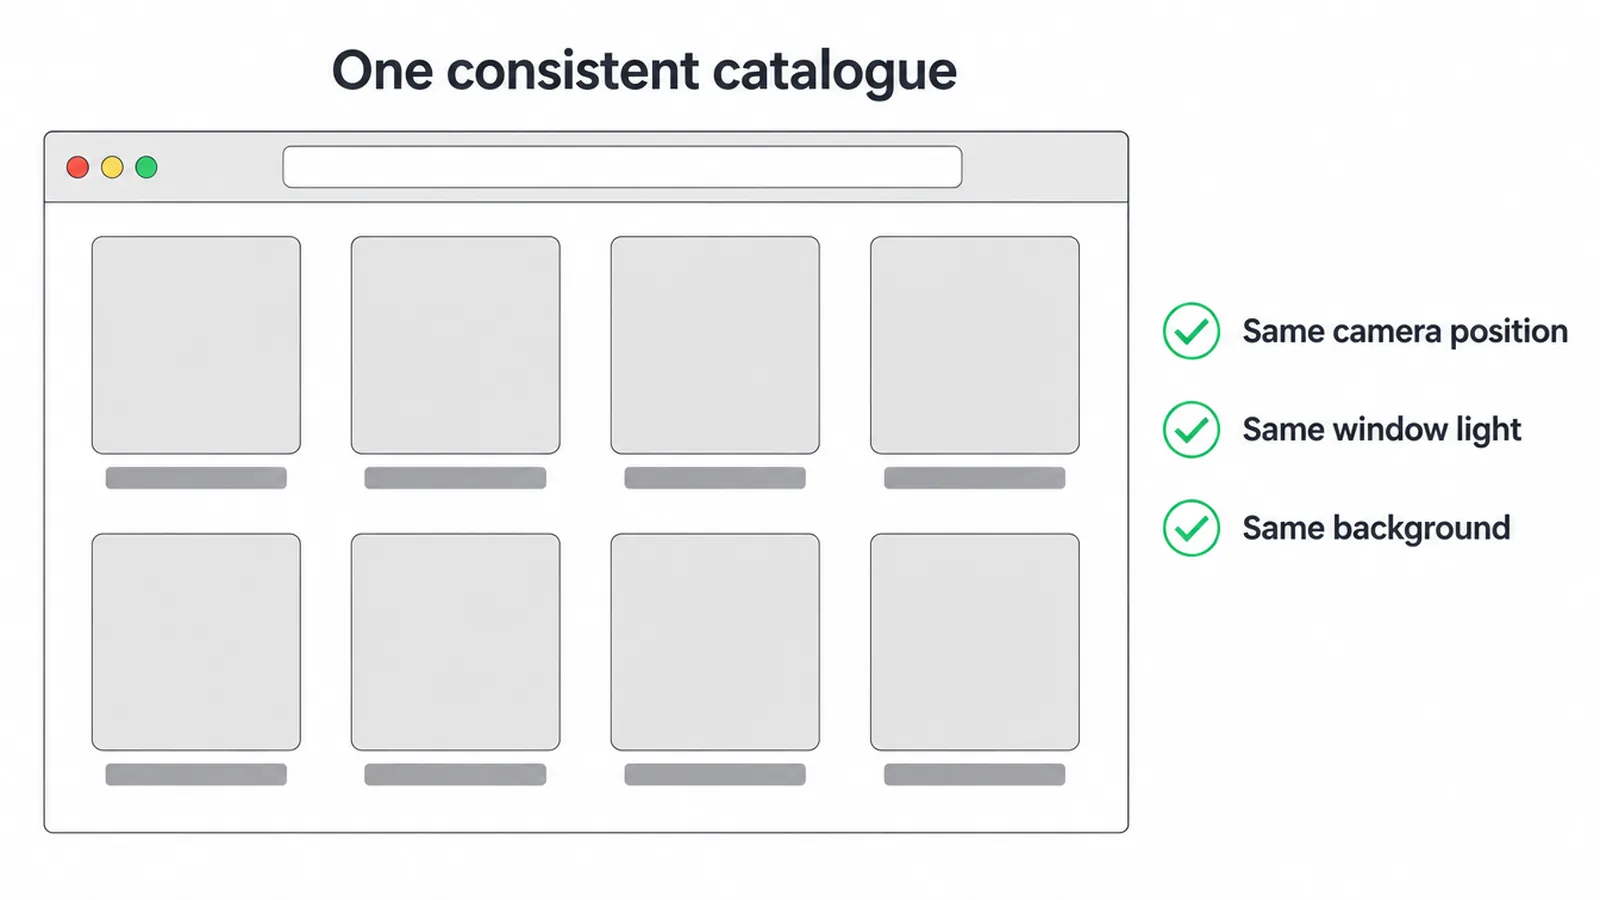
When every shot lines up, your store grid looks tidy and planned instead of thrown together. That consistency carries right through to your ecommerce homepage design, where the product photos become the visual grid a shopper sees first. Mismatched lighting and angles make even good products feel scrappy.
8. Shoot for mobile
About half of worldwide web traffic is mobile, so your photos have to work small. Fill the frame with the product so it still reads on a little screen.
Keep it sharp, because blur is far more obvious once an image is shrunk down. And shoot large enough that the photo stays crisp when someone taps to zoom, then compress it after.
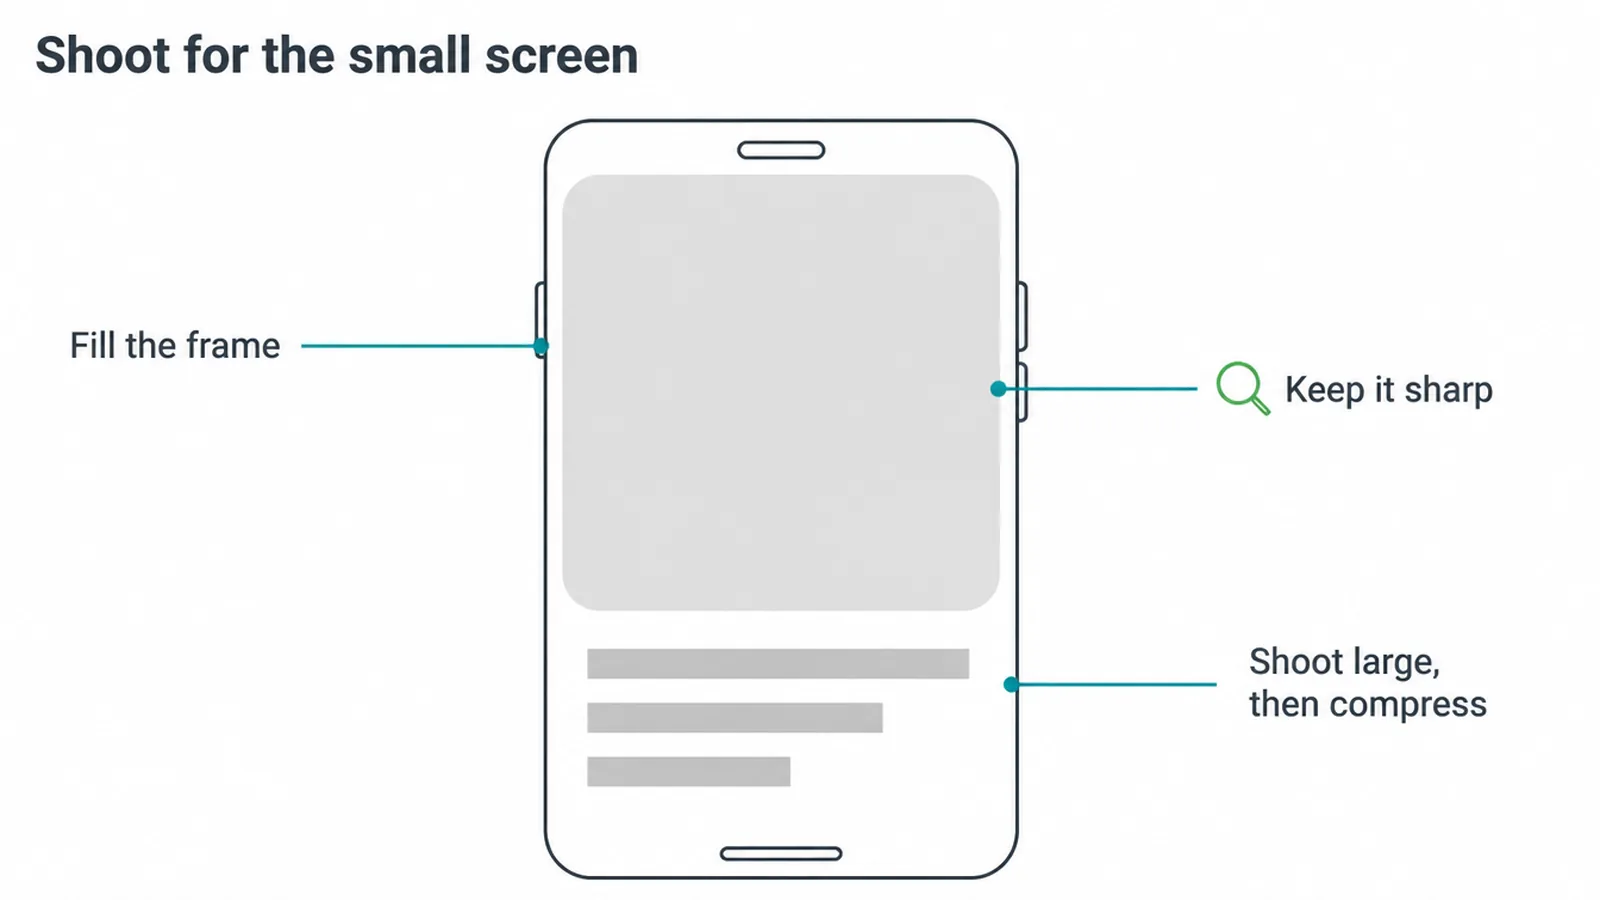
That last point leads straight into the next one. A big, sharp photo is great for the shopper but heavy for the page, so you have to shrink the file without wrecking the picture. Let us do that next.
9. Make images fast: compress and use WebP
Big image files make pages crawl, and slow pages lose sales. So compress every photo before it goes live. Aim for an image size no larger than 200 KB, with lower being better (Shopify Help).
There is a limit, though. When compressing, do not compress too much or the image becomes blotchy (Shopify Help). Nudge it down until it looks the same, then stop.
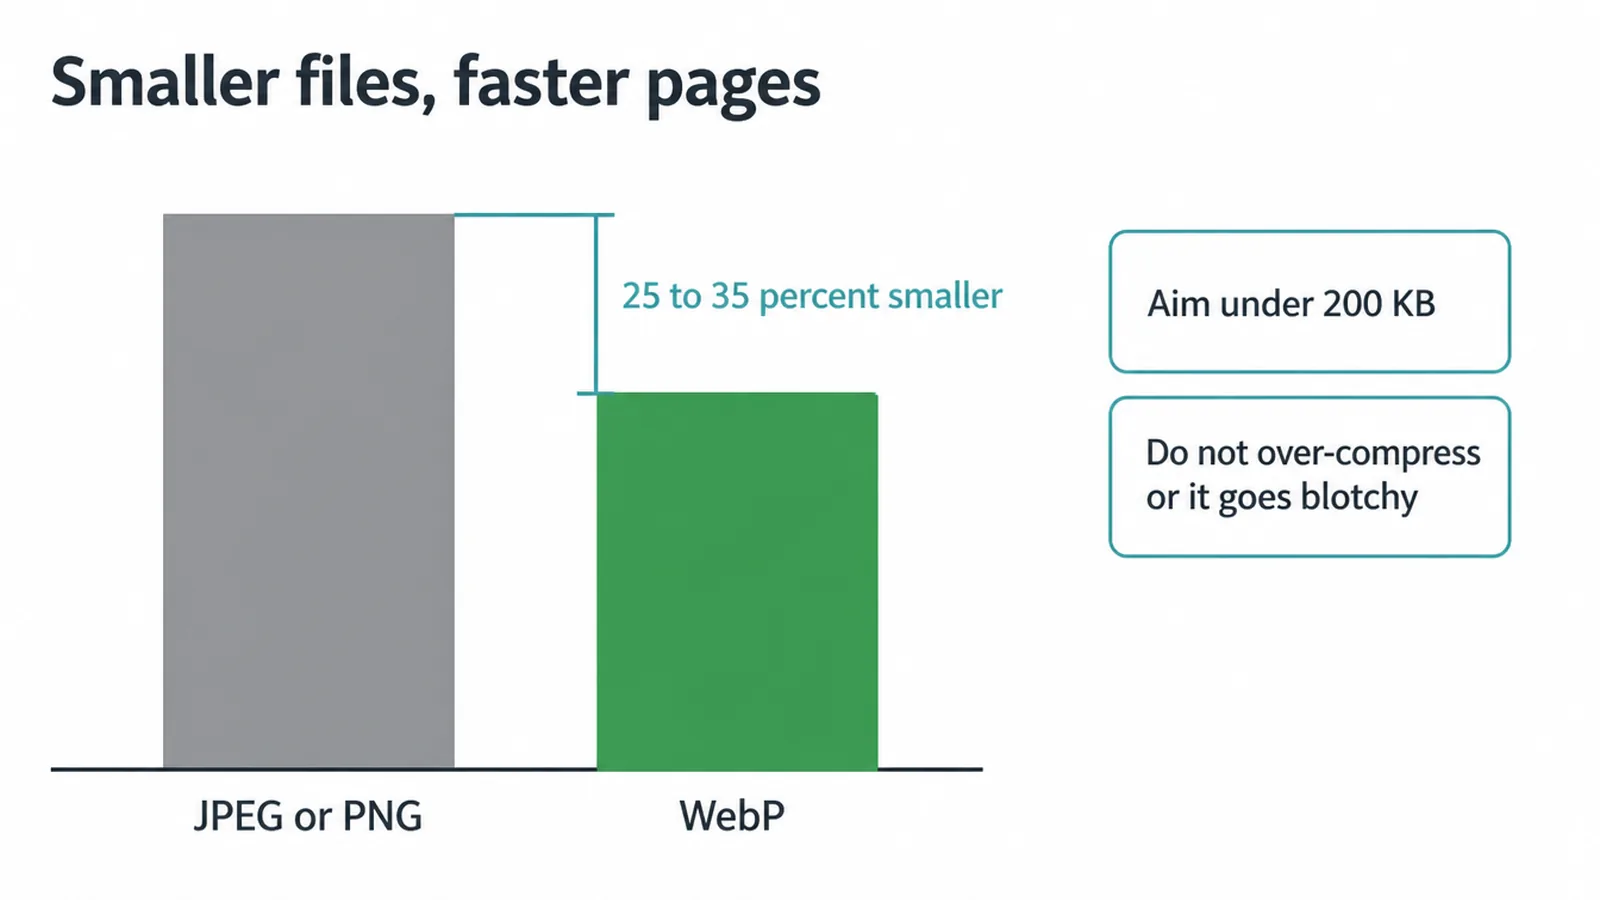
The file format helps too. WebP images are usually 25 to 35 percent smaller than JPEG and PNG, which decreases page sizes and improves performance (web.dev). Same picture, smaller file, faster page.
Google also tells you to apply image optimization and responsive image techniques for a high-quality, fast experience (Google Search Central). This is baked into a store built right, and it is part of how we design online stores.
10. Help Google read your images (image SEO)
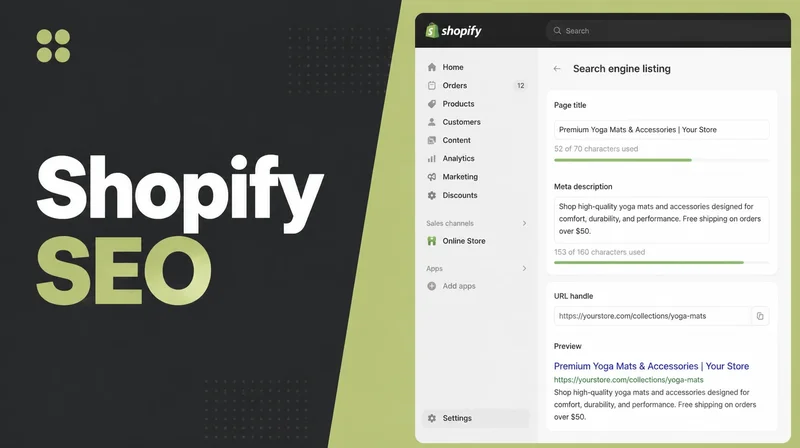
Your photos can pull in free traffic from image search, but only if you label them. Start with the filename. Use short but descriptive filenames, because "my-new-black-kitten.jpg" beats "IMG00023.JPG" (Google Search Central). Rename the file before you upload it.
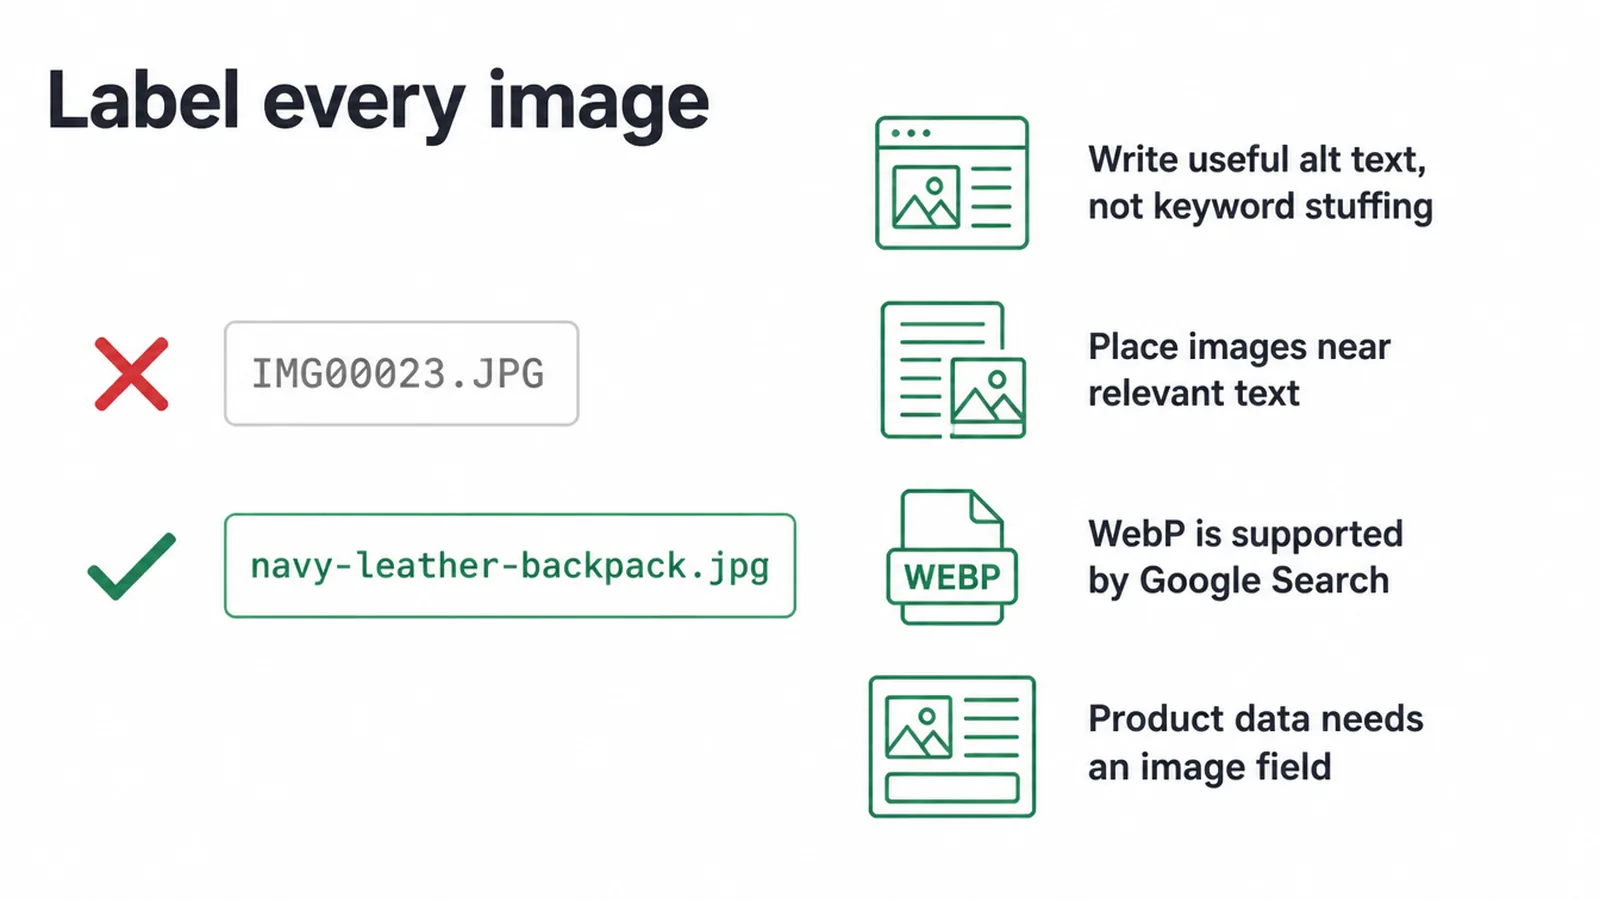
Next, the alt text. Alt text should be useful and descriptive in the context of the page, not keyword-stuffed, so "Dalmatian puppy playing fetch" beats "puppy" (Google Search Central).
Describe the photo the way you would to a friend. Then place images near relevant text and on pages relevant to the image subject (Google Search Central).
A few more facts worth knowing. Google Search supports images in BMP, GIF, JPEG, PNG, WebP, SVG and AVIF, so WebP is safe to use (Google Search Central).
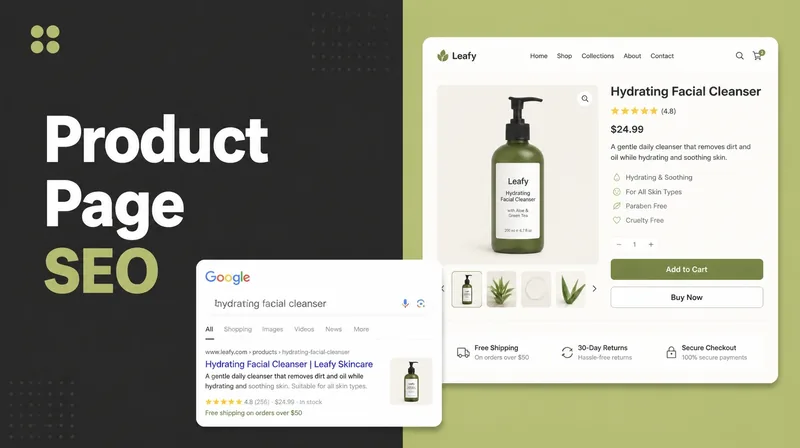
And product structured data requires an image field to be eligible for a rich result in Google Images (Google Search Central). All of this lives on the product page itself, which we cover in product page SEO.
11. How photography leads the Ottoman Malaysia product page
Photography carries the sale on the stores we build. On the Ottoman Malaysia furniture site, large images lead the product page, with measurements, materials and options underneath, because furniture is bought on how it looks. Those same images are compressed and served at the right size, so the page still opens quickly on a phone.
Frequently asked questions
1. Can I take good product photos with my phone?
Yes. A modern phone camera is enough for most stores. Good light and a steady tripod matter far more than the camera. Start with what you have.
2. What is the best background for product photos?
A plain white background keeps all eyes on the product and looks clean and consistent. Add a few lifestyle shots that show the item in real use so shoppers can picture the size and the vibe.
3. Do I need studio lighting?
No. If you have no lights, shoot next to a window. Turn off the other lights in the room so they do not muddy the colour. A white board bounced back into the shadows softens the look for free.
4. How many photos should each product have?
Show it from a few angles, add a close-up of the important detail, one that shows scale, and at least one lifestyle shot. Enough that a shopper feels they have held it.
5. How do I show the size of a product in a photo?
Put it next to a familiar object or show it in use, like held in a hand or set on a desk. Lifestyle shots help shoppers gauge size better than a floating product on white.
6. How big should my product image files be?
Small enough to load fast. Shopify suggests keeping files under a couple hundred kilobytes where you can. Do not over-compress, or the image goes blotchy.
7. Should I use WebP for product images?
WebP is usually 25 to 35 percent smaller than JPEG or PNG at similar quality, so pages load faster. Google Search reads WebP fine, so it is a safe choice.
8. What should I write in the image alt text?
Describe the photo plainly, the way you would to a friend on the phone. Something like navy leather backpack, front view beats a generic name or a pile of keywords. It helps shoppers using screen readers and helps Google understand the image.