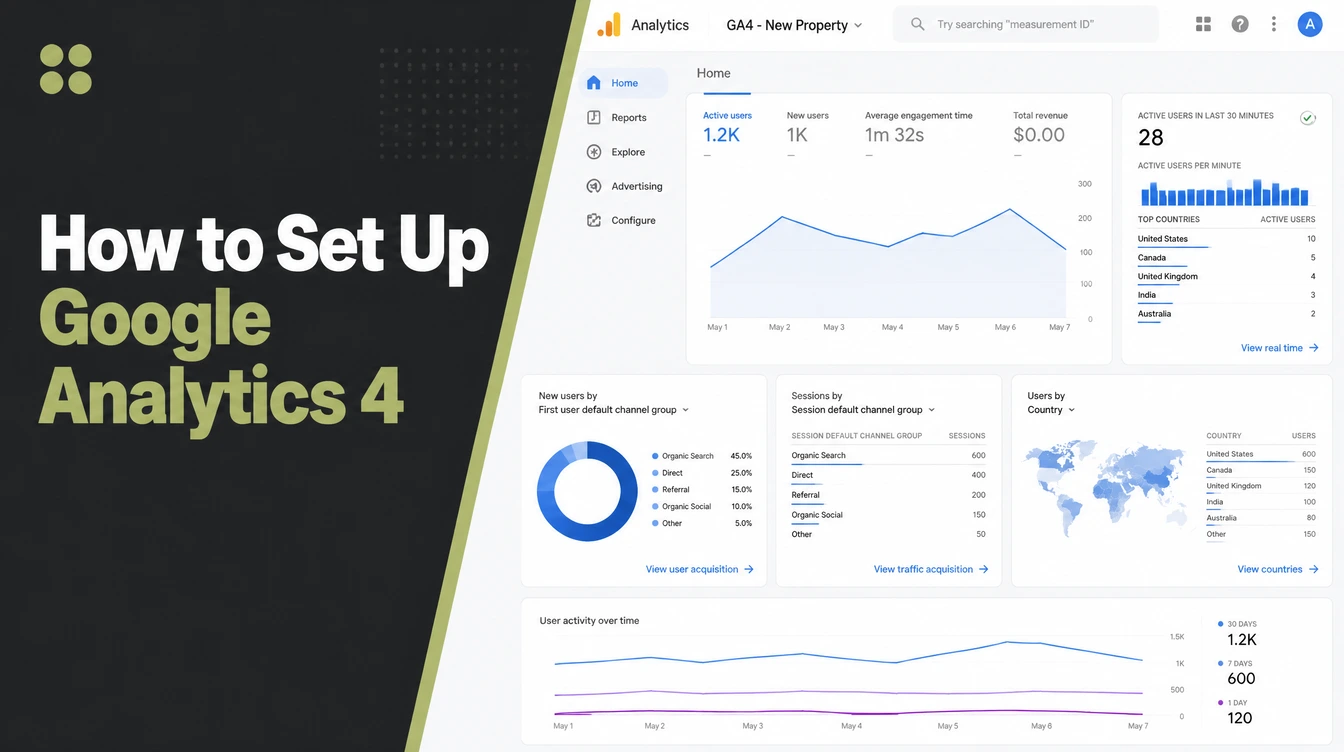
How to Set Up Google Analytics 4 and Check It Works

Set up Google Analytics 4 by creating a property, copying the G- measurement ID, pasting the tag into your site builder or theme header, then marking the actions that matter as key events. It takes about 20 minutes and no developer. Seed Light installs GA4 on every site it builds.
Key takeaways
- GA4 is the only Google Analytics now. The old Universal Analytics stopped collecting data on 1 July 2023, so a fresh GA4 setup is the only option.
- You can do it without a developer. Build the property, grab the G- measurement ID, then paste it into your site builder or your theme header.
- "Conversions" are now "key events". You mark important actions, like a form submit or call click, as key events inside Admin.
- WordPress has a no-code shortcut. The free official Site Kit by Google plugin connects Analytics and places the tag for you.
- GA4 only collects data from install forward. Set it up sooner rather than later, because it cannot show you the past.
- Five reports do most of the work. Realtime, Traffic acquisition, Pages and screens, Key events, and the Search Console organic reports.
1. What is Google Analytics 4?
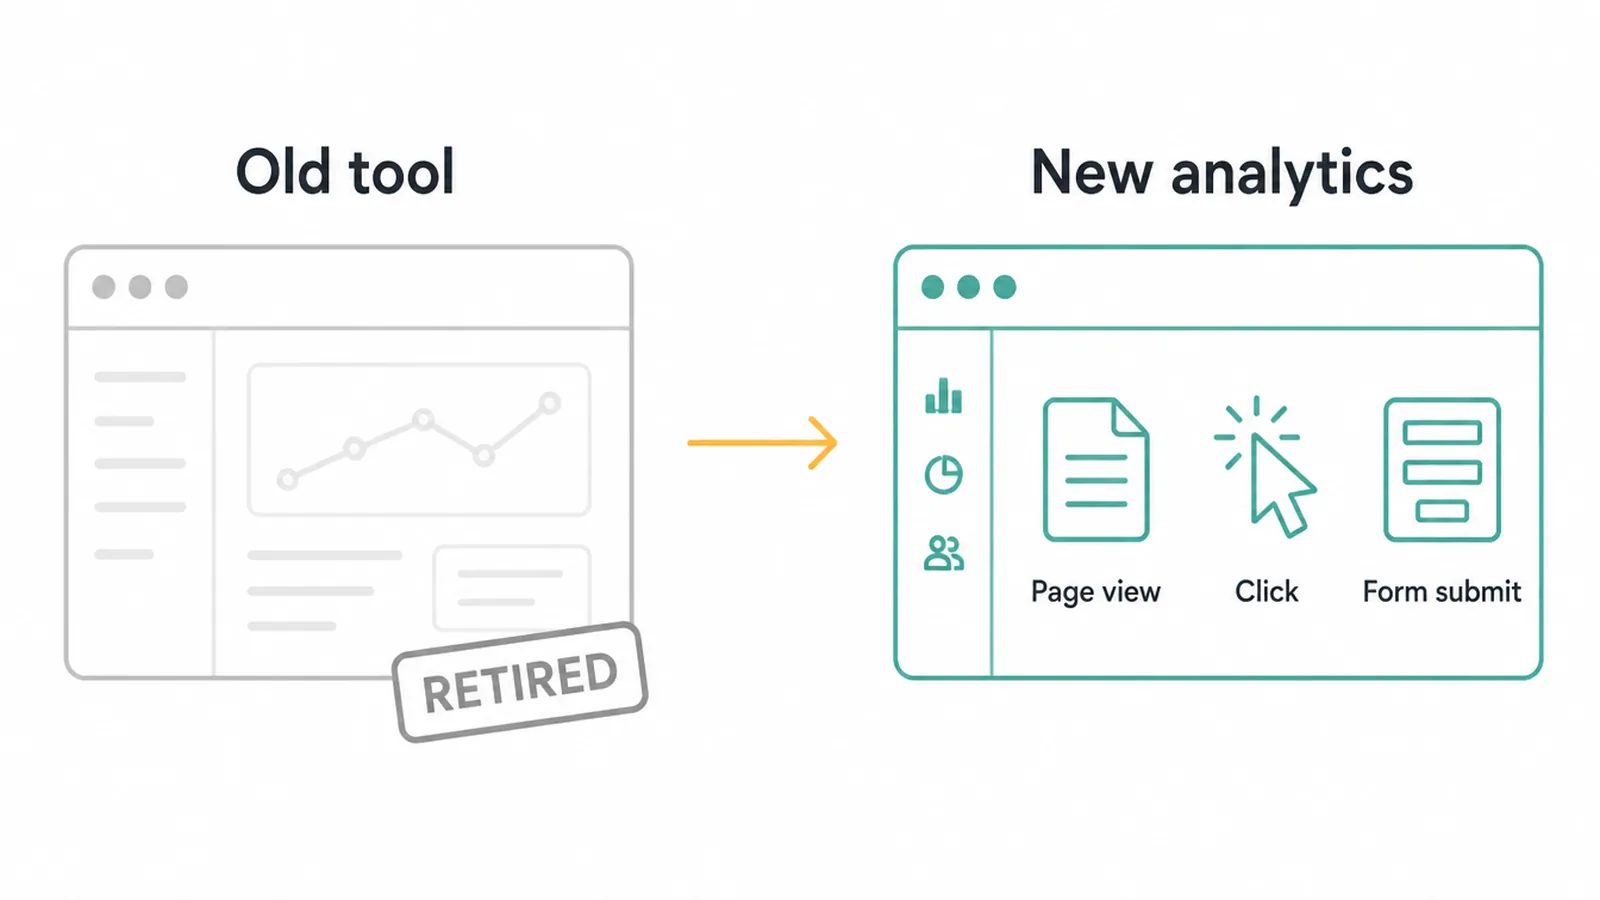
Google Analytics 4 is a free tool that shows you how people find and use your website. It replaced the old version, Universal Analytics, which was retired and removed from the interface.
GA4 is event-based, which means it tracks actions like page views, clicks and form submits rather than just sessions. That sounds technical, but you do not need to understand the plumbing to read the reports.
GA4 pairs well with Google Search Console. Think of it this way: Search Console tells you how you show up in Google search, and GA4 tells you what people do once they land on your site.
If you want the search side too, see our guide on how to use Google Search Console. For the bigger picture of how it all fits, read our digital marketing for small business guide.
2. Before you start
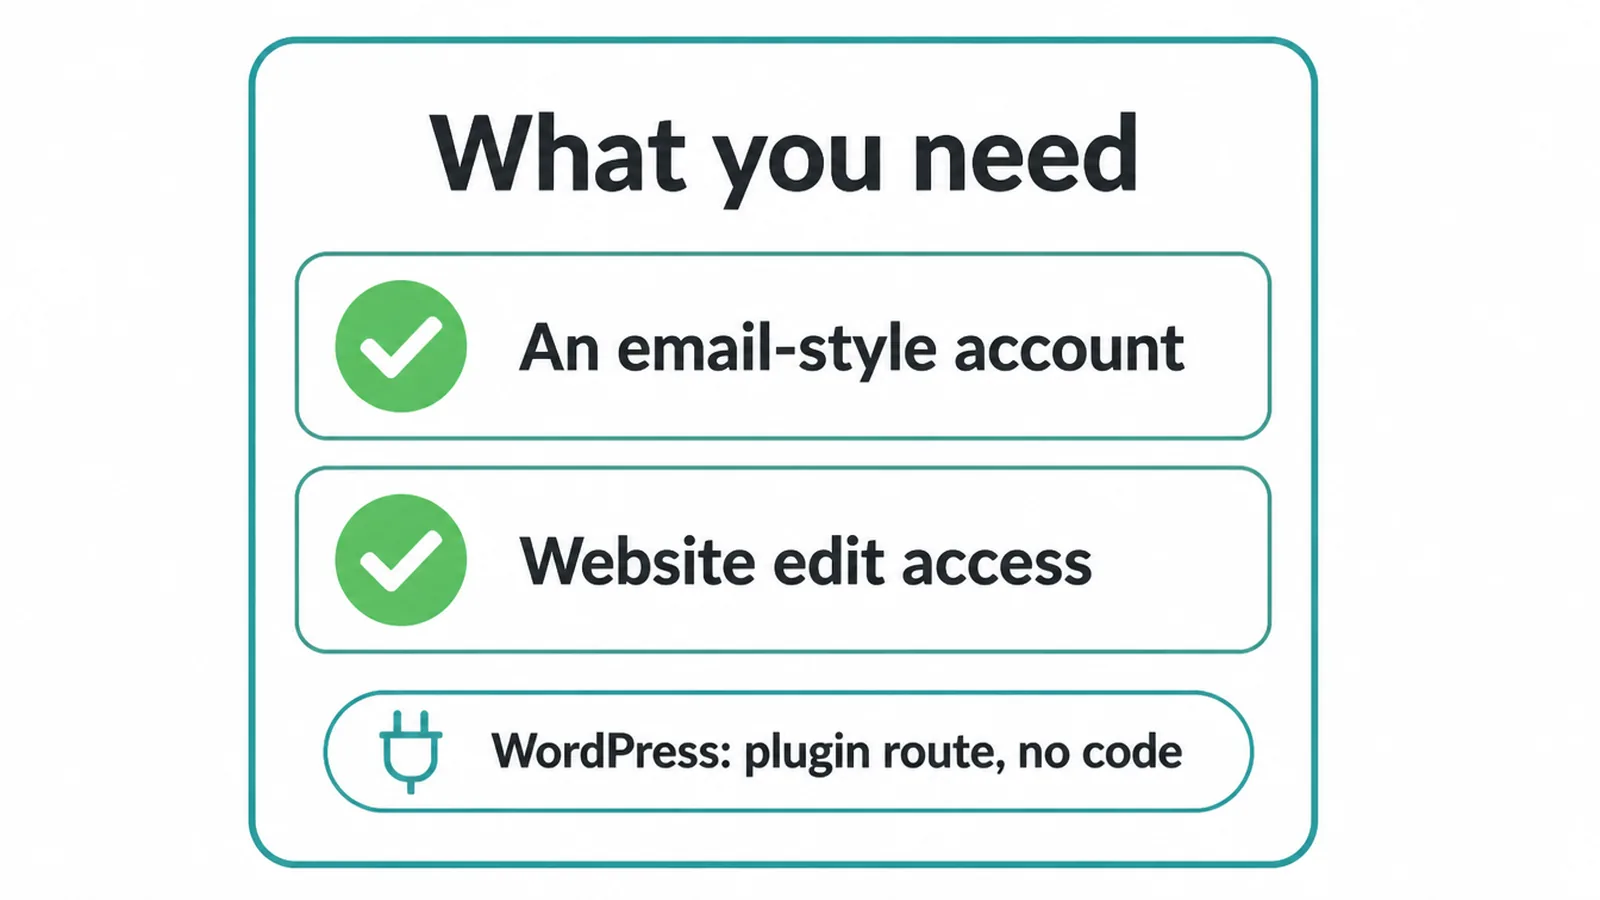
You need two things. First, a Google account, the same kind you use for Gmail. Second, a way to edit your website, either a site builder login or access to your theme files.
That is it. If you run WordPress, the easiest route uses a plugin and needs no code at all. Keep your site open in another browser tab so you can test once the tag is in.
3. Step 1: Create your account, property and data stream
Start at analytics.google.com and click Start measuring. This first step builds the structure GA4 needs to hold your data, following the official Google setup steps. Work through it in order:
- Go to Admin, then click Create and choose Account. Give the account a name.
- Click Create again and choose Property. Set the property name, time zone, currency, and pick your industry and business size.
- Open Data collection and modification, then Data Streams.
- Click Add stream and choose Web. Enter your website URL and a stream name. Keep Enhanced measurement switched on, as it tracks useful things like scrolls and outbound clicks automatically.
- Click Create stream.
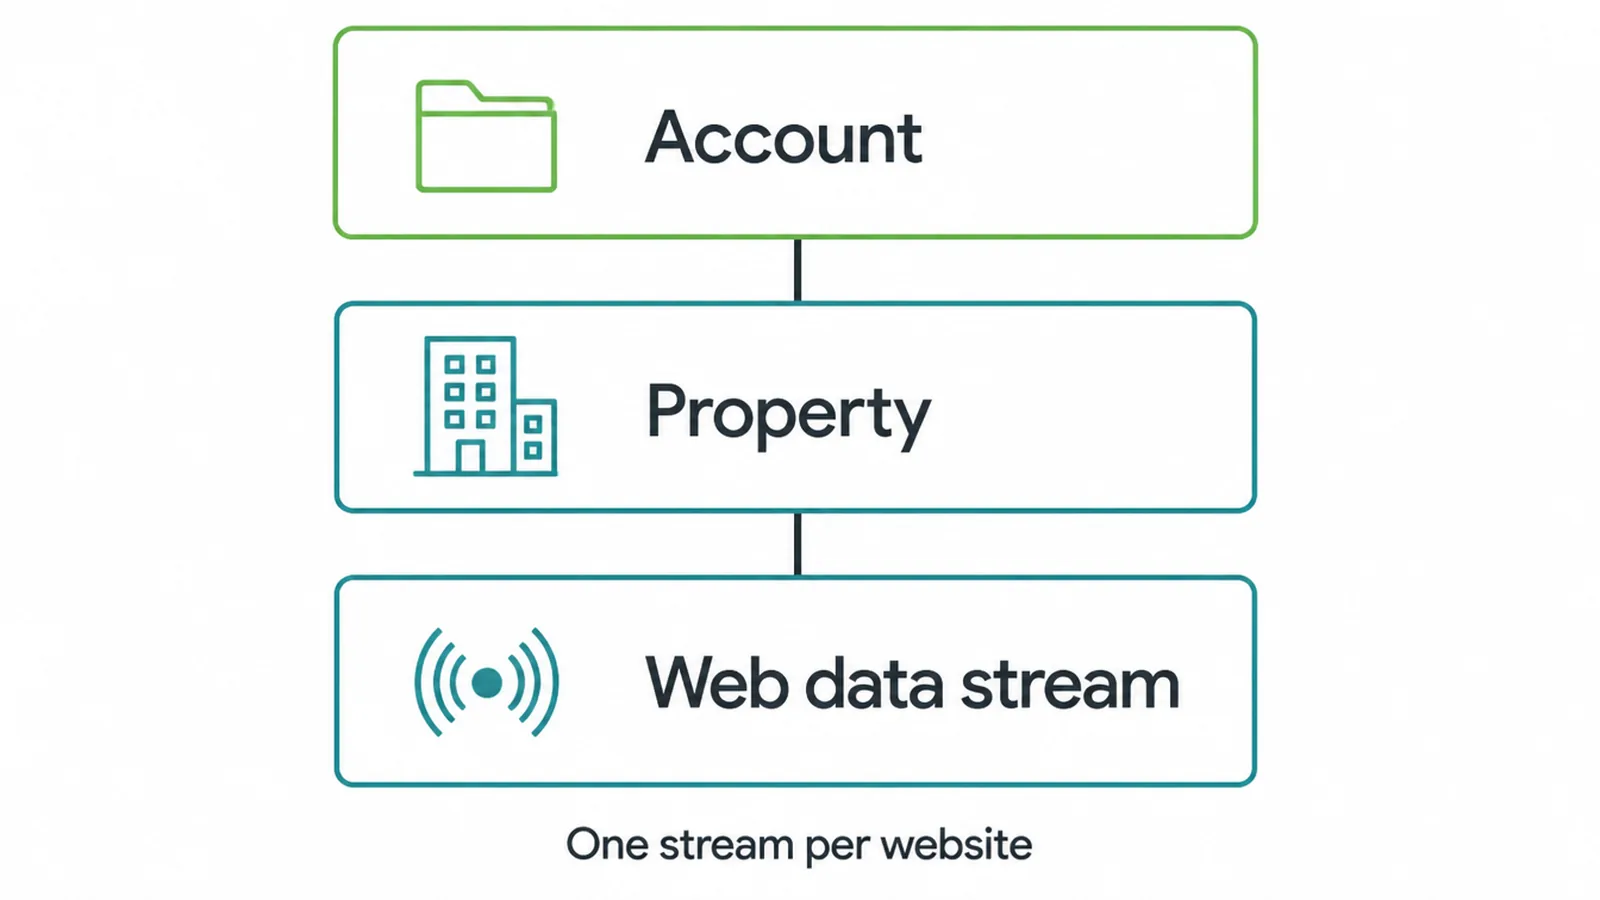
The account is the top level, the property holds your data, and the web data stream is the pipe that feeds it from your site. You only need one web stream for a single website.
4. Step 2: Copy your measurement ID
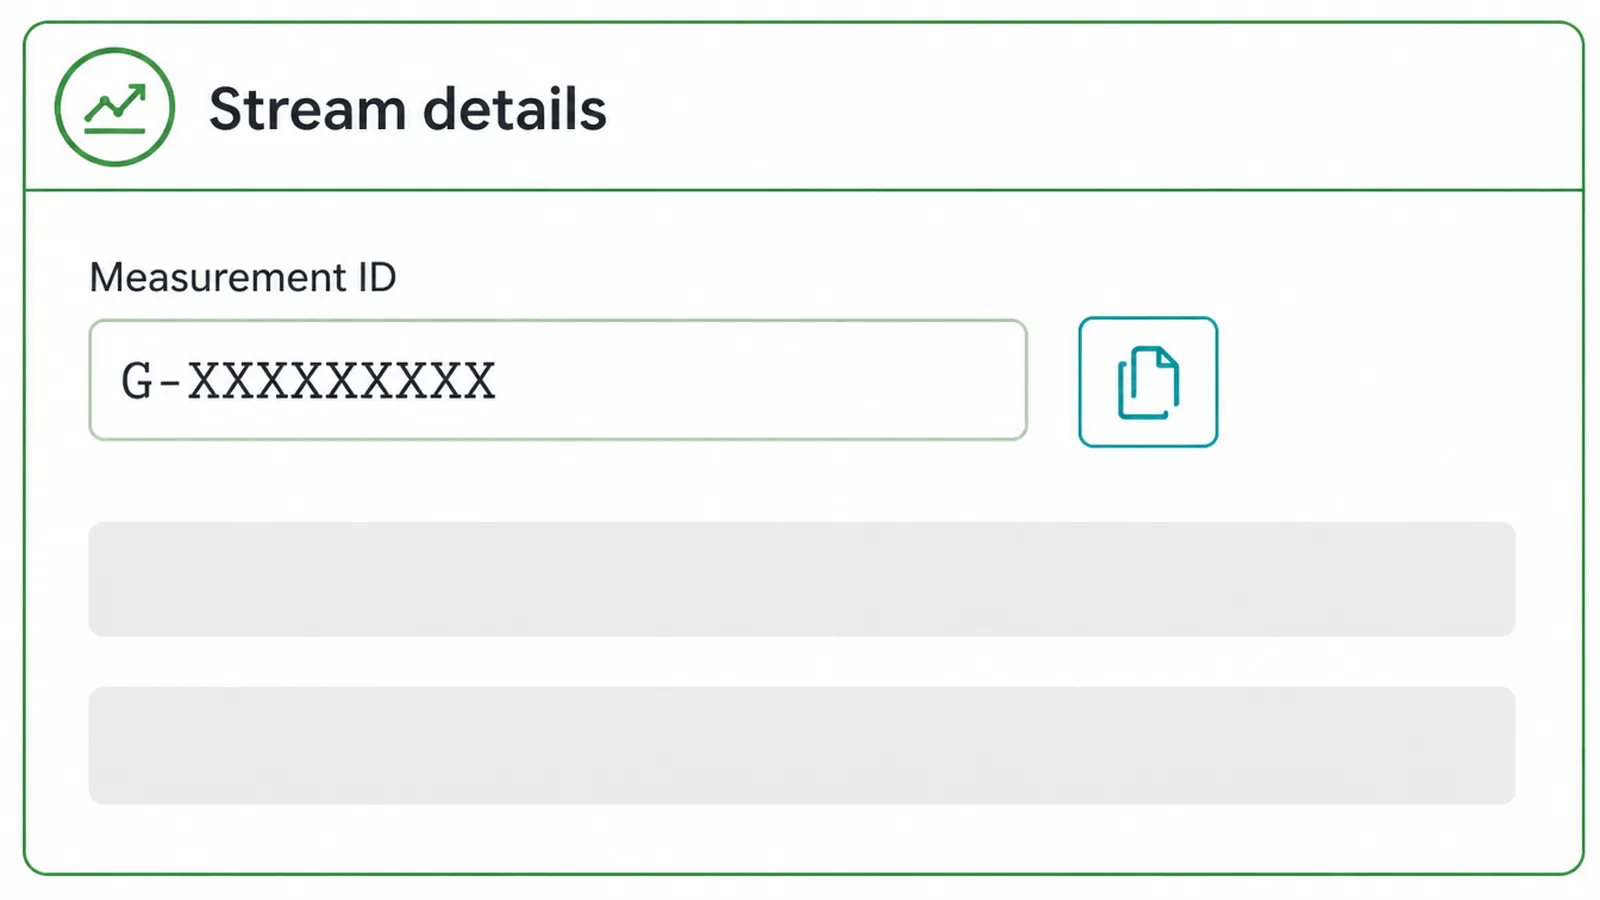
Once the stream is made, GA4 gives you a measurement ID. It looks like G-XXXXXXXXXX, always starting with G- and followed by ten characters.
To find it, go to Admin, then Data Streams, click your web stream, and look under Stream details. Copy the ID, since you will paste it into your site next. This is the same place the Google tag instructions point you to.
5. Step 3: Install the Google tag
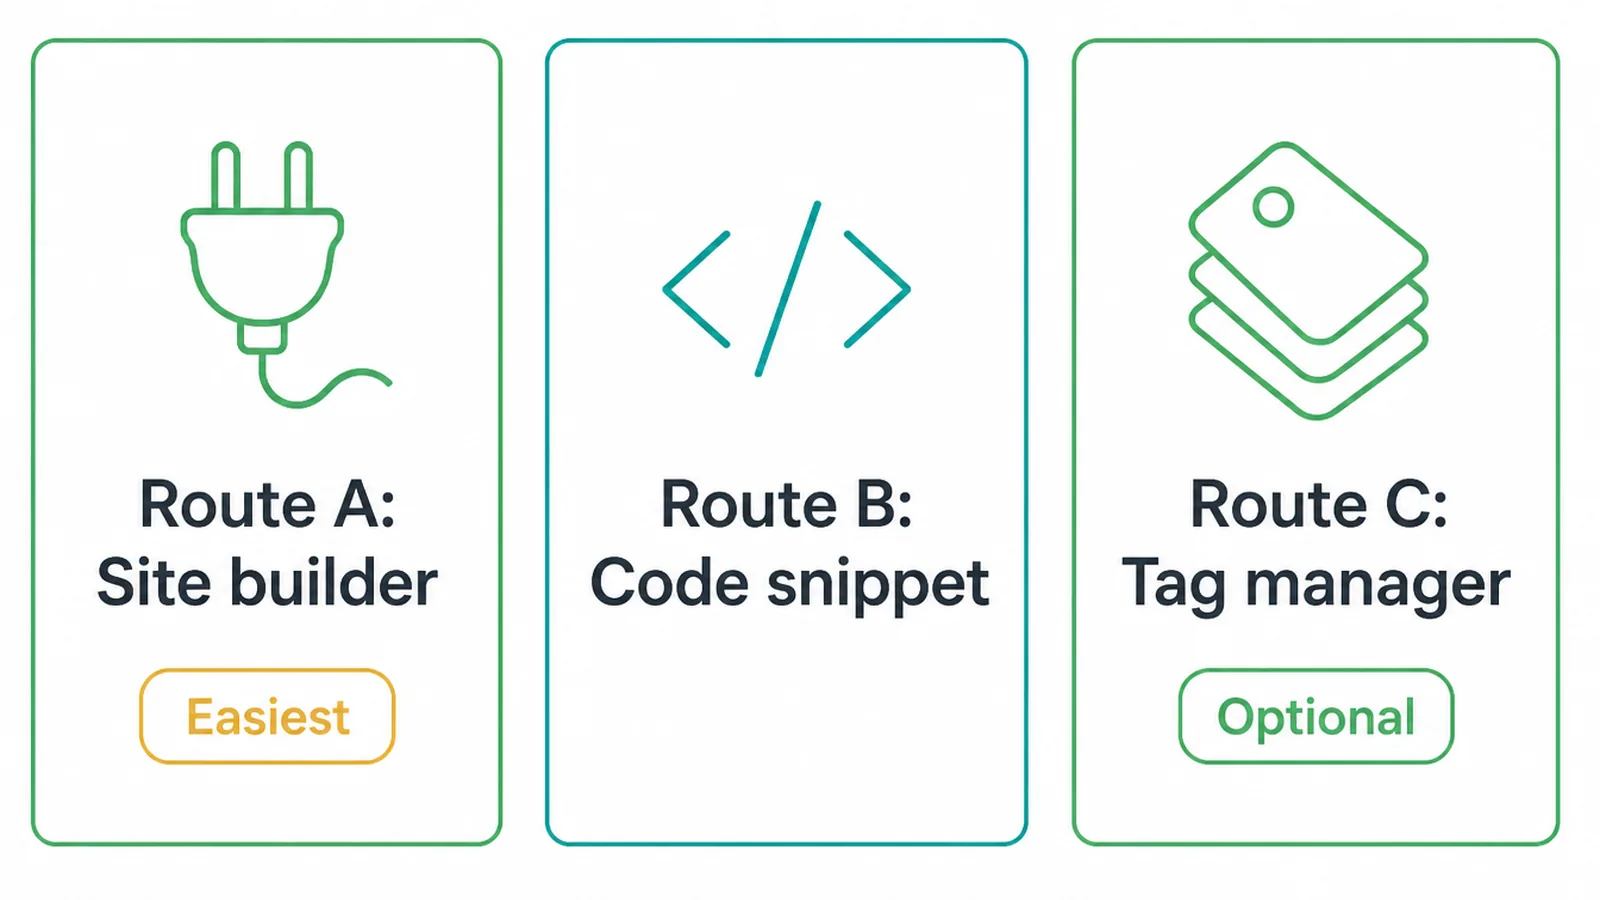
Now you connect the ID to your website. There are three routes, and you only need one. Pick the one that matches how your site is built. After install, data can take up to 30 minutes to show, so do not panic if nothing appears straight away.
Route A: Your site builder (easiest)
Most platforms have a field where you paste the G- ID and they handle the rest. On WordPress, the free official Site Kit by Google plugin connects Analytics in a wizard with no code.
Shopify, Wix, Squarespace and HubSpot all have a built-in spot for the ID too. This is the route we recommend for most owners.
Route B: The gtag.js snippet
If you can edit your theme header, GA4 gives you a snippet to paste. In your data stream, choose View tag instructions, then Install manually. Paste this code right after the opening head tag, on every page of your site. Swap G-XXXXXXXXXX for your real ID.
<!-- Google tag (gtag.js) -->
<script async src="https://www.googletagmanager.com/gtag/js?id=G-XXXXXXXXXX"></script>
<script>
  window.dataLayer = window.dataLayer || [];
  function gtag(){dataLayer.push(arguments);}
  gtag('js', new Date());
  gtag('config', 'G-XXXXXXXXXX');
</script>
Route C: Google Tag Manager
If you already use Google Tag Manager, add a Google Tag using your G- ID.
This is optional and only worth it when you manage many tags. For a single GA4 setup, Route A or B is simpler.
6. Step 4: Confirm the data is flowing
Do not assume it works. Check it. Open Reports, then Realtime. Now visit your own website in another tab and click around.
Within a minute or so you should see yourself counted as an active user, with your events appearing live. If you see nothing after a short wait, the tag may be missing from that page or installed twice.
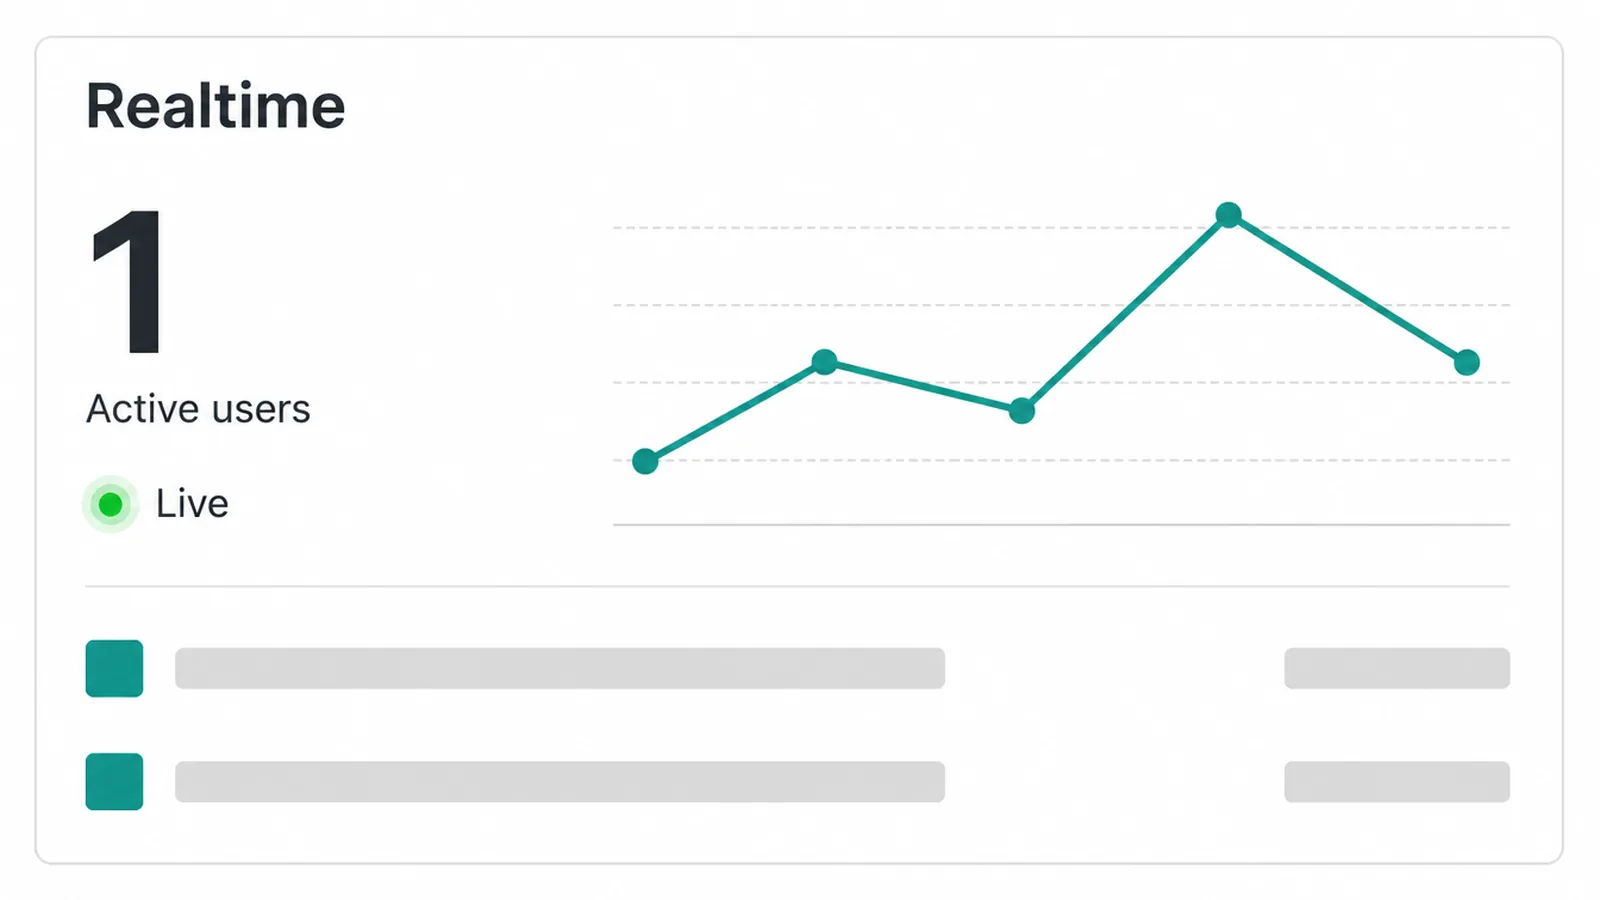
For a closer look, use DebugView. Install the Google Tag Assistant from tagassistant.google.com, then open Admin, Data display, and DebugView. It shows every event in real time so you can spot problems. A short delay before standard reports fill in is normal, so give it up to a day for the full picture.
7. Step 5: Mark your key events
A key event is an action that matters to your business, like a form submit, a purchase, or a call click. By default GA4 tracks plenty of events, but you tell it which ones count.
To mark one, go to Admin, Data display, then Events. Find the event you care about and switch on the Mark as key event toggle. The official key events page covers the detail.
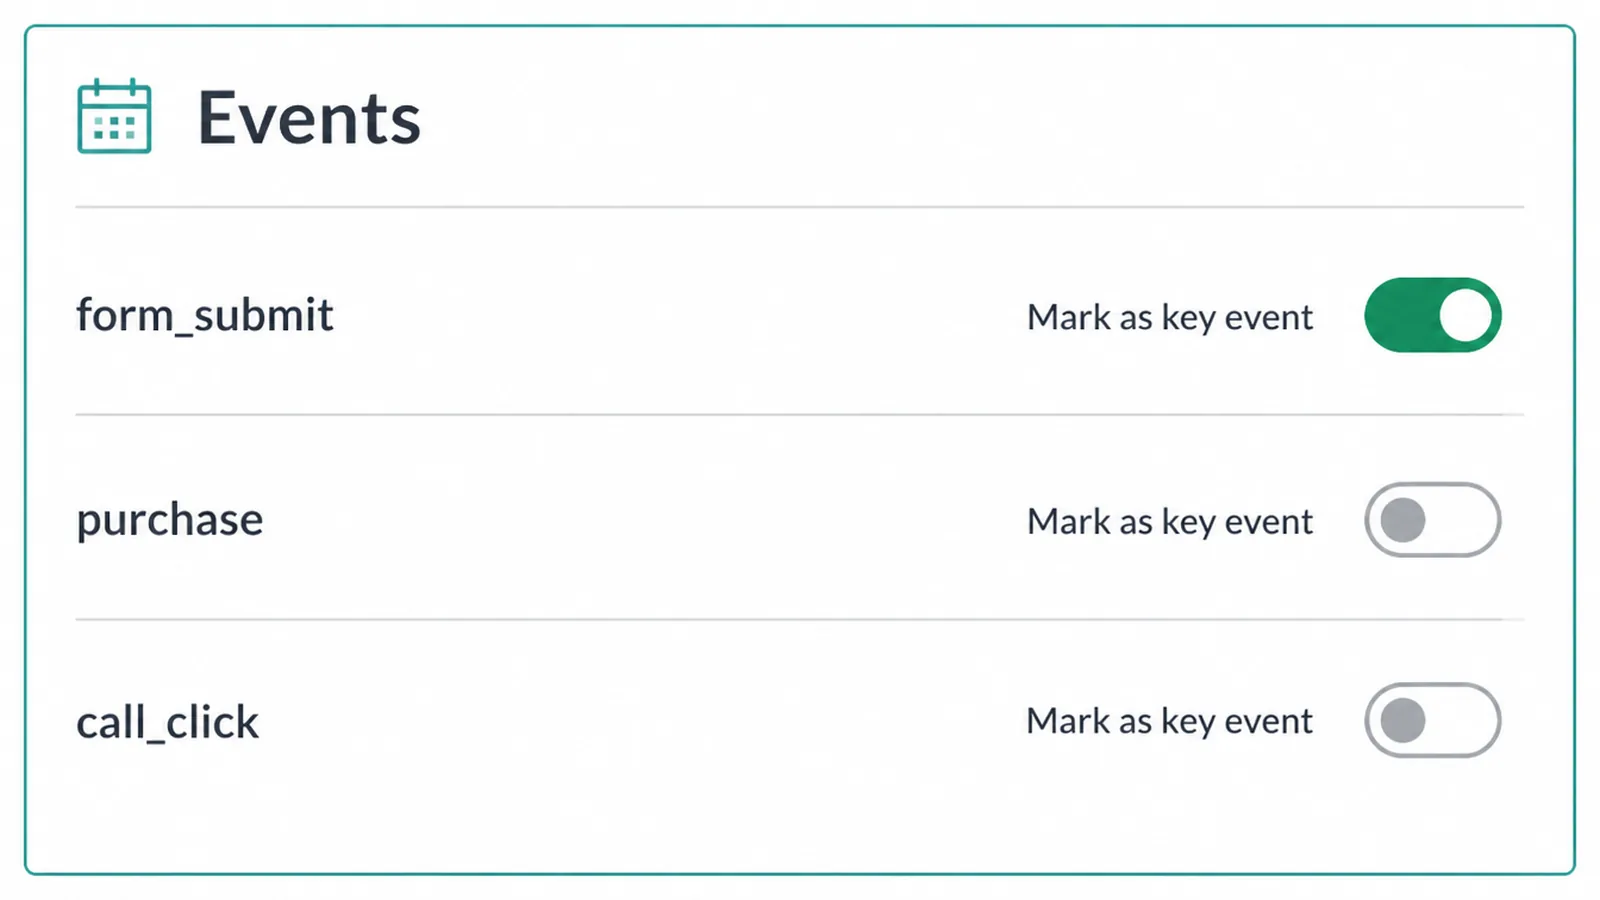
Here is the naming change that trips people up. Google renamed "conversions" to "key events" inside GA4. So an event becomes a key event in Analytics, and the word "conversion" now refers to the action used for Google Ads bidding.
Same idea, two names, depending on which tool you are in, and it is the number every paid search campaign is judged on. Tracking these properly is what lets you measure return, which we explain in our guide to what a good ROAS looks like.
8. Step 6: Link Search Console and Google Ads
Two links make GA4 far more useful. Both live under Admin, then Product Links.
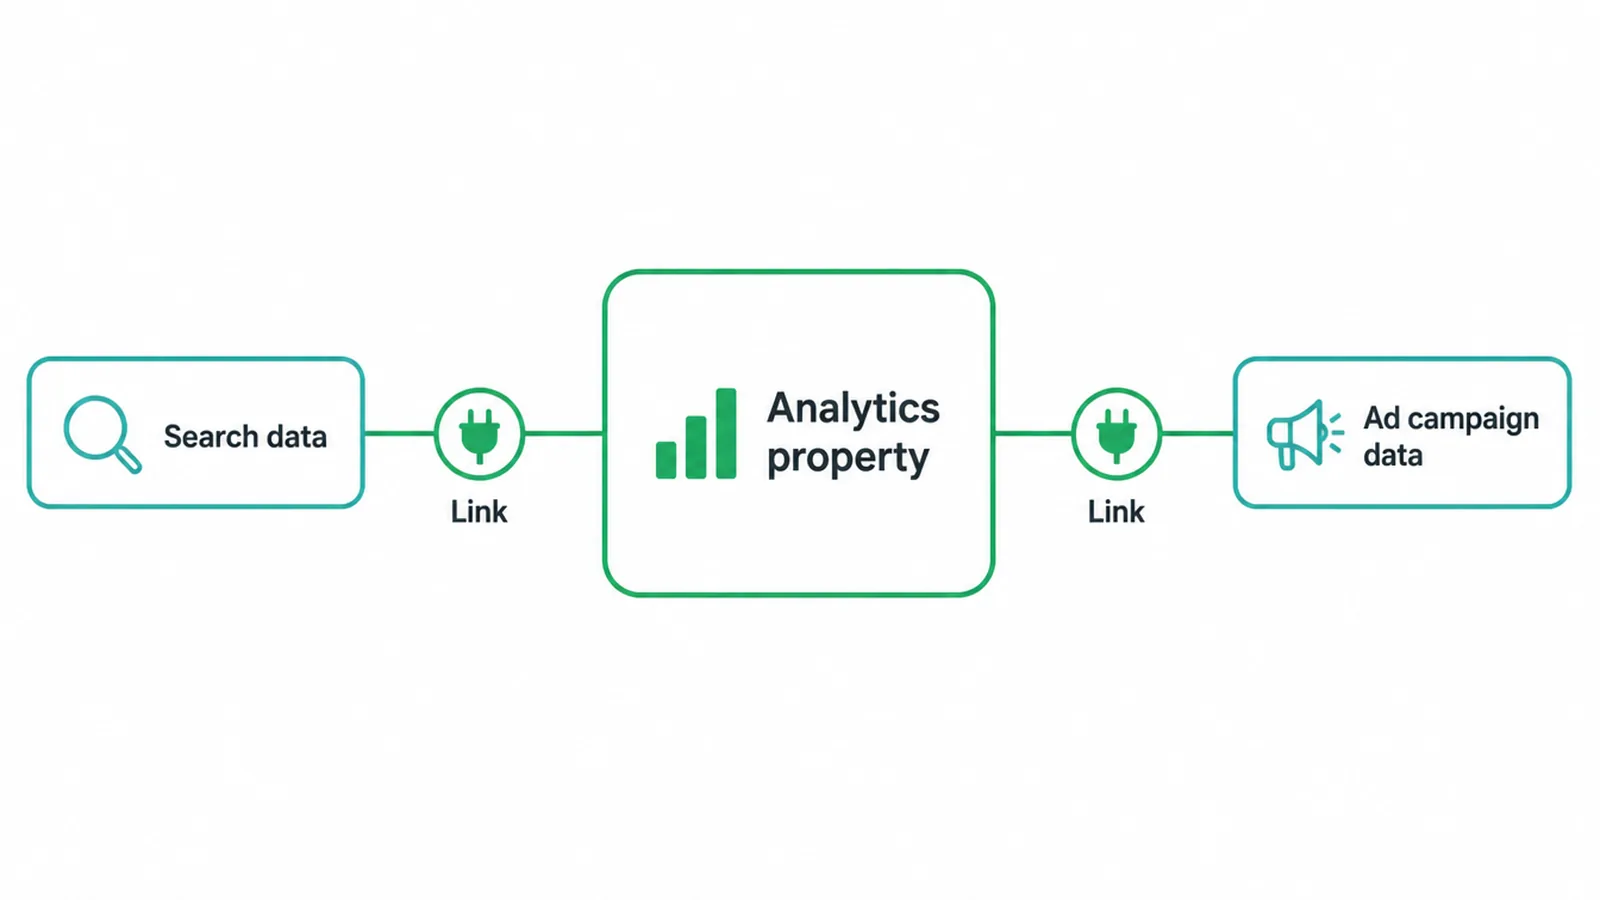
For search data, open Search Console Links and click Link. Choose a Search Console property you own and your web data stream. This adds Google Organic Search Queries and Traffic reports, so you can see the searches that bring people in.
Your site must be verified in Search Console first, which we cover in our Search Console walkthrough, per the official linking guide.
For ad data, open Google Ads Links, click Link, choose your account, and confirm. You need access to the Ads account to do this. Once linked, your campaign and key event data line up in one place, the first report we open when we run Google Ads for a client.
9. The reports that matter
GA4 has a lot of menus, but a small business only needs a handful of reports to start. Each one answers a simple question, and you find them under Reports in the left menu. Here is the short list to check weekly.
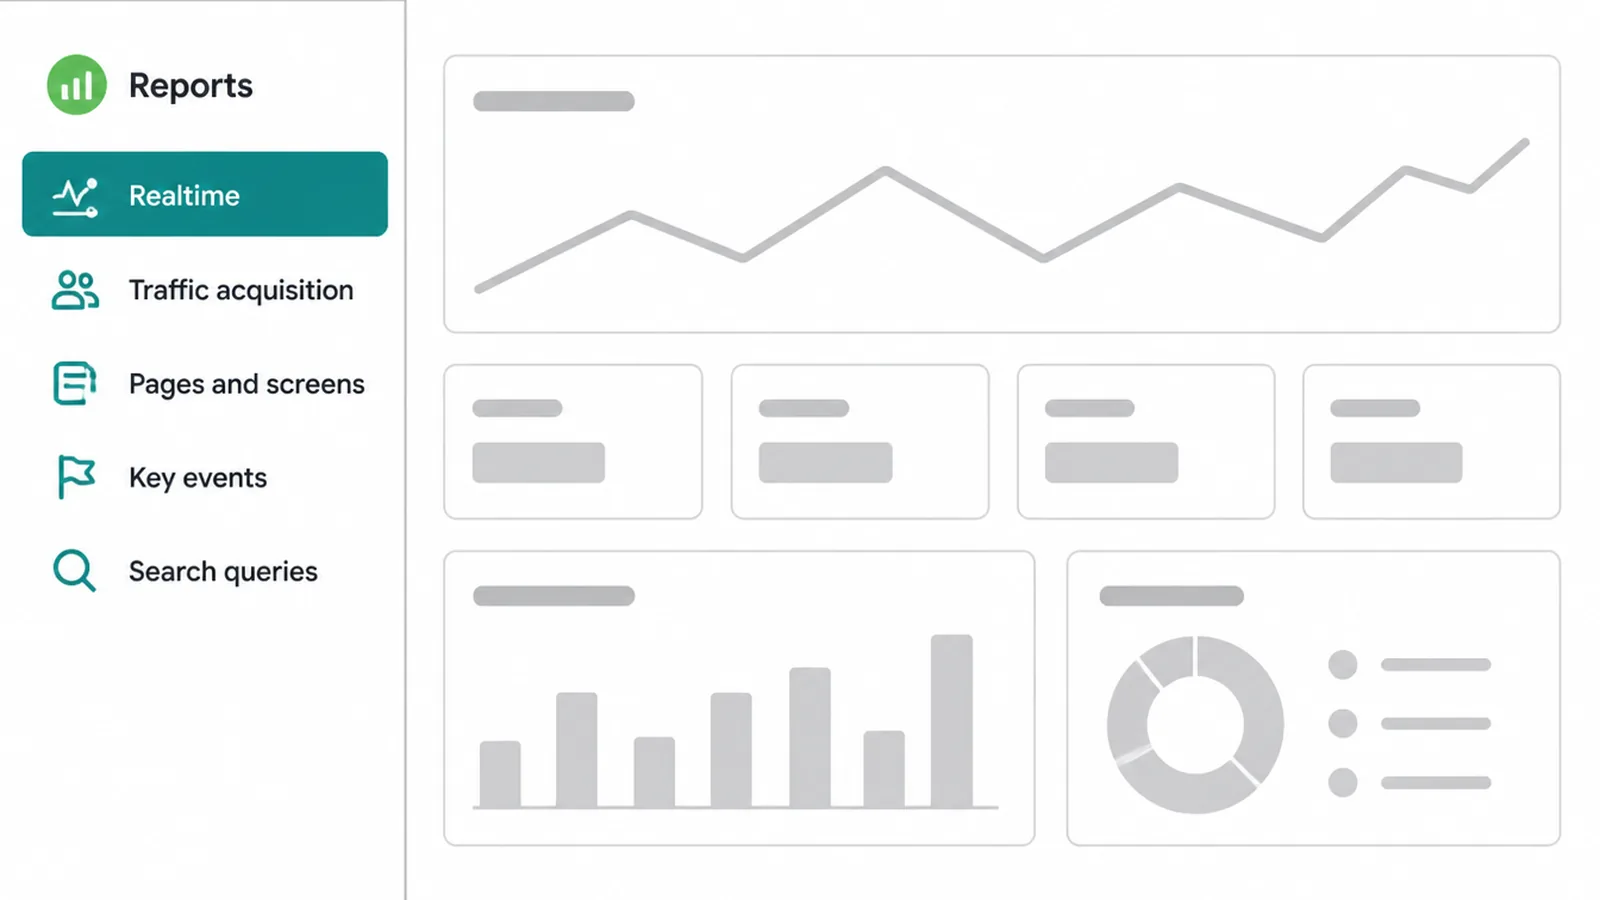
| Report | What it tells you | Where to find it |
|---|---|---|
| Realtime | Who is on your site right now and what they are doing | Reports > Realtime |
| Traffic acquisition | Which channels send you visitors, like search, social or ads | Reports > Acquisition > Traffic acquisition |
| Pages and screens | Your most visited pages and how they perform | Reports > Engagement > Pages and screens |
| Key events | How many of your important actions happened | Reports > Engagement > Key events |
| Google Organic Search Queries | The searches that bring people to your site | Reports > Search Console (once linked) |
Start with these. Once you are comfortable, the rest of GA4 will make more sense. The goal is not to stare at numbers, it is to spot what works and do more of it.
10. Six GA4 setup mistakes to avoid
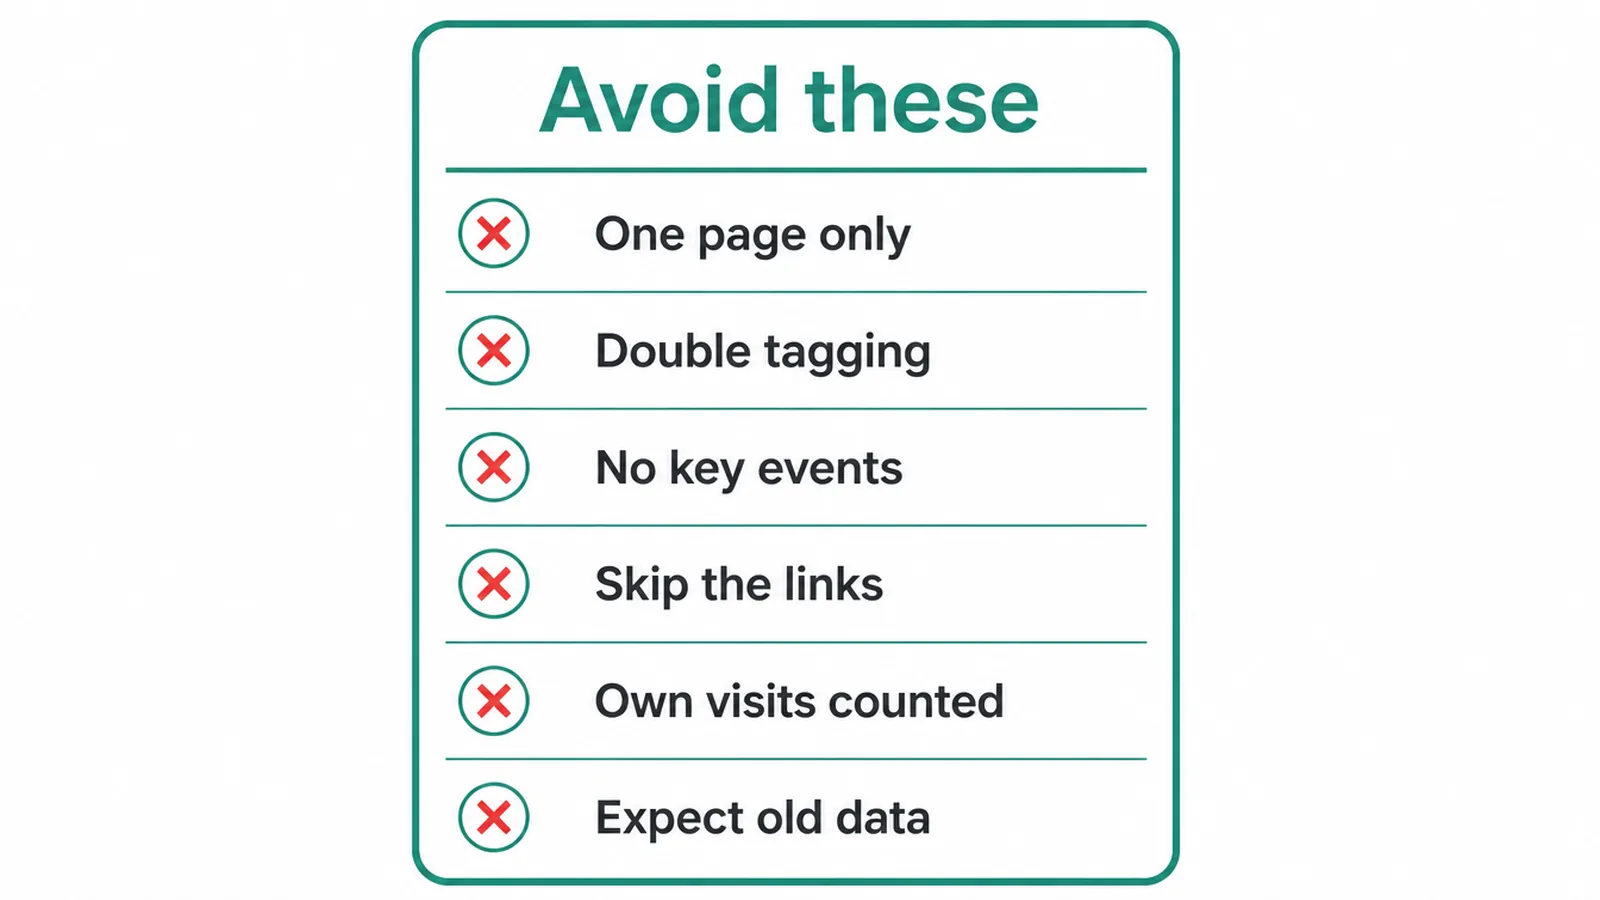
- Tag on one page only. The snippet must sit on every page. Site builders handle this, but a manual paste in the wrong spot misses pages.
- Two tags double-counting. If you add the tag through a plugin and the theme header, GA4 counts everything twice. Pick one method.
- Never marking a key event. Without key events you see traffic but not results, so you cannot tell what is actually working.
- Skipping the links. Without Search Console and Ads linked, you lose half the story about how people reach you.
- Counting your own visits. Filter internal traffic so your team's clicks do not muddy the data.
- Expecting historical data. GA4 only collects from the moment you install it. There is no way to backfill the past, so set it up today.
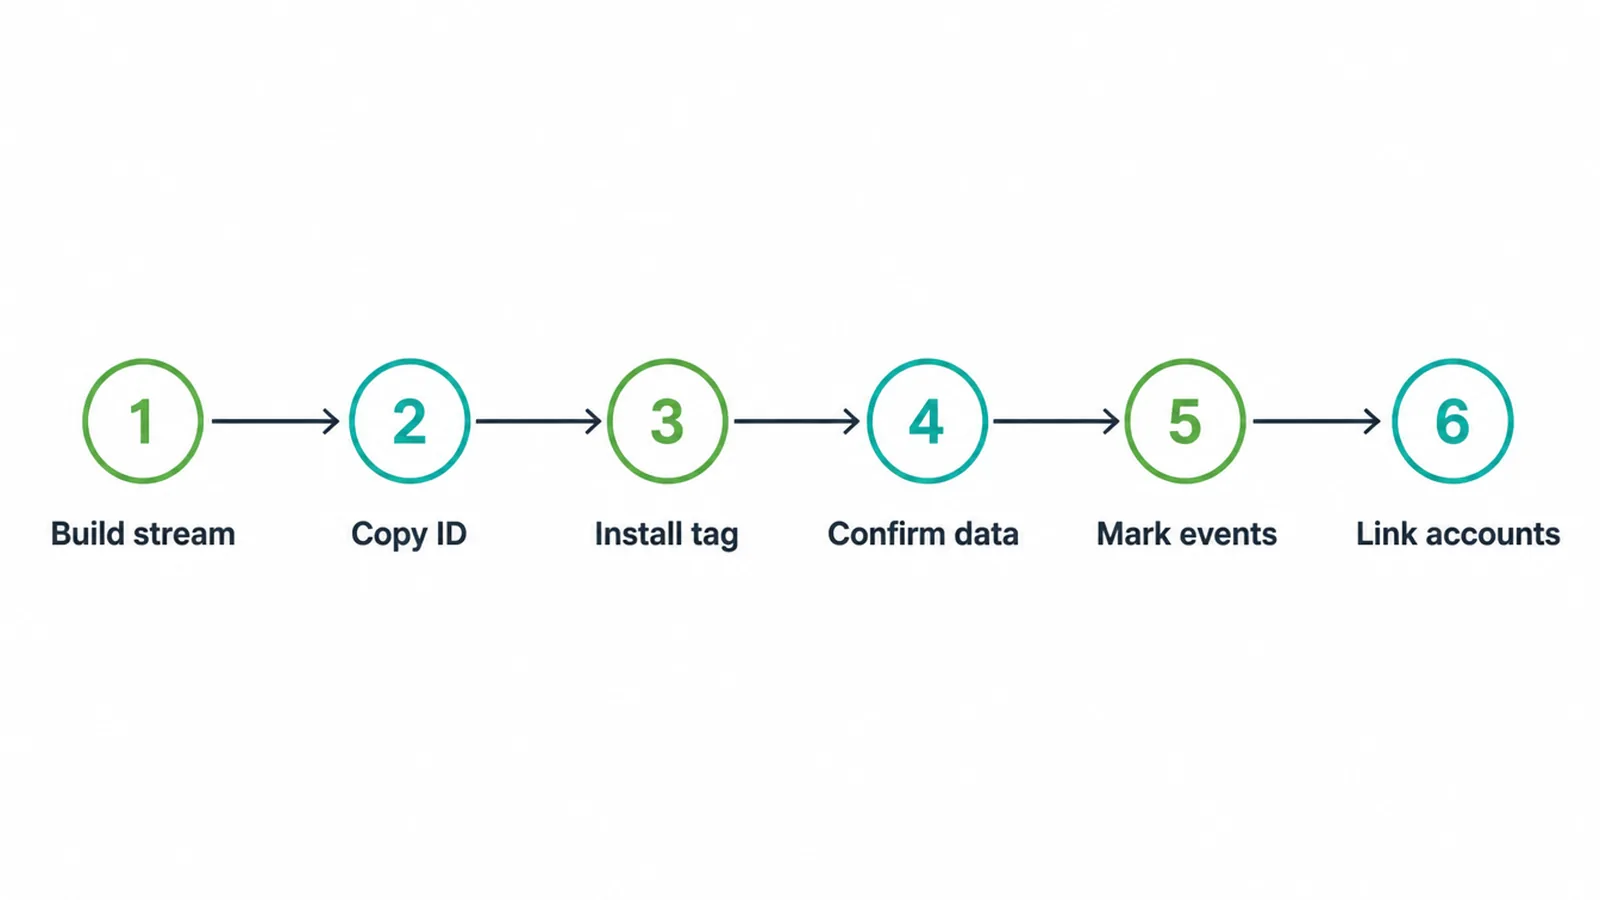
11. The whole GA4 setup, in order
That is the whole job. Build the account, property and data stream, copy the G- measurement ID, install the tag, confirm the data, mark your key events, then link Search Console and Google Ads. Six steps, about 20 minutes, no developer. The setup is the easy part.
The real value comes from acting on what you see, doubling down on the pages and channels that bring you customers and fixing the ones that do not.
If you want a hand turning that data into more leads, our digital marketing service is built for exactly that, or just get in touch and we will point you in the right direction.
Frequently asked questions
1. How do I set up Google Analytics 4?
Create a Google account, then in Admin create an account, a property and a web data stream, copy the G- measurement ID, install the tag on your site, and confirm data in the Realtime report.
2. Is GA4 free?
Yes. Standard Google Analytics 4 is free for the vast majority of small and mid-size businesses, with a paid Analytics 360 tier only for very high-volume enterprises.
3. Do I need Google Tag Manager?
No. Tag Manager is optional. The simplest path is pasting the G- ID into your site builder's native field or the gtag.js snippet directly, and Tag Manager helps once you want to manage many tags.
4. How do I add GA4 to WordPress?
The easiest way is the free official Site Kit by Google plugin, which connects Analytics and places the tag with no code. Otherwise paste the gtag.js snippet into your theme's header.
5. How do I know Google Analytics 4 is working?
Open Reports then Realtime and visit your own site in another tab, and you should appear as an active user within a minute or so. Use DebugView with Tag Assistant for detailed checking.
6. What is a conversion or key event in GA4?
In GA4 you mark important actions like a form submit, purchase or call click as key events. Google renamed conversions to key events, and conversion now refers to the action used for Google Ads bidding.
7. Can I link GA4 to Search Console and Google Ads?
Yes, both through Admin then Product Links. Search Console must be verified for your site first, and linking Ads requires access to the Ads account.
8. What reports should a small business use?
Realtime, Traffic acquisition, Pages and screens, Key events, and the Search Console organic reports once linked.